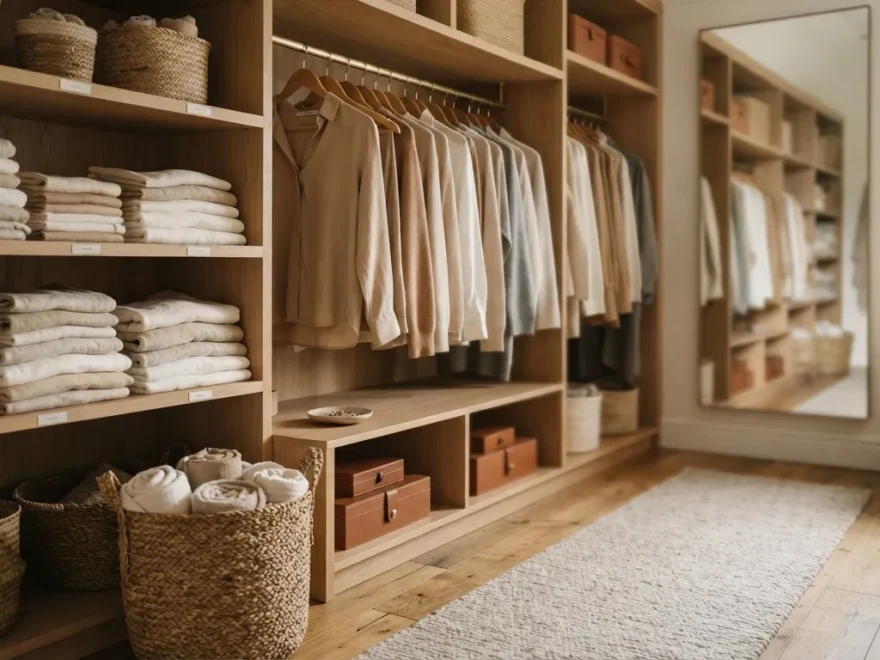
A cluttered wardrobe can turn a calm morning into a stressful scramble, and small decor choices make a bigger difference than most people expect. This list walks through simple, budget-friendly ways to bring order and style to your closet space without a full renovation. From clever storage swaps to lighting tricks and DIY labels, each idea below is practical enough to try this weekend. Whether you have a walk-in closet or a single reach-in unit, these tips will help you build a system that looks good and actually works for daily use.
1. Switch to Matching Hangers
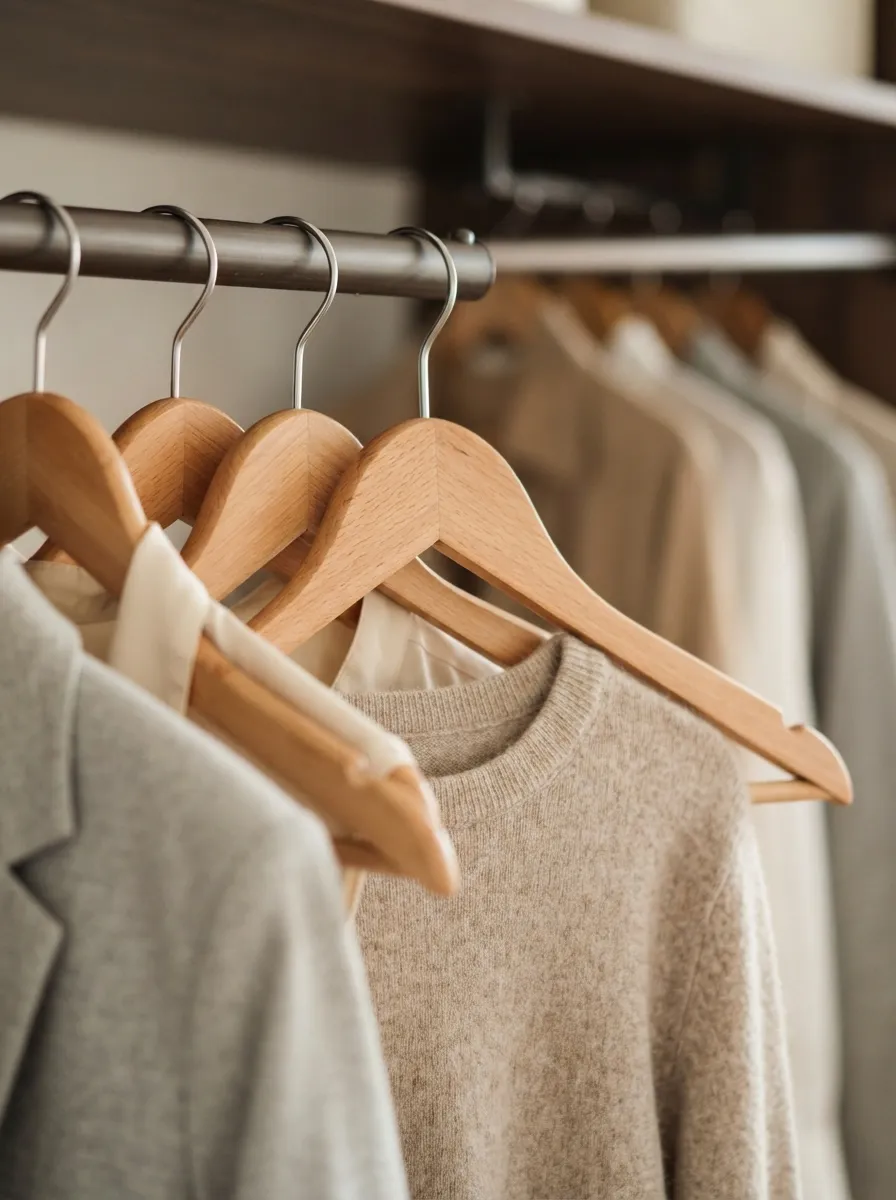
Mismatched hangers are one of the biggest reasons a wardrobe looks messy. Wire hangers, plastic ones, and random freebies from stores create visual noise. Swap them all for one style of hanger in a single color or material. Wood or slim velvet hangers work well because they save space and hold clothes without slipping. You don’t need to buy a full set at once. Start with a pack of twenty and replace hangers gradually as you do laundry. Thrift stores and discount shops often sell matching sets for a few dollars. This one change instantly makes the whole closet feel calmer. It also protects your clothes better than wire hangers, which bend shoulders out of shape over time. If your budget is tight, a simple DIY option is painting old wooden hangers the same color with leftover paint. Group them by clothing type afterward: shirts on one side, pants folded over a bar, and dresses at the end. The visual consistency does most of the work. To complete the room, pair your organized wardrobe with Pattern wall decor ideas, such as subtle geometric or abstract prints that add character while maintaining a clean and cohesive look. It’s a small swap, but it changes how the entire space feels every time you open the door.
2. Add Clear Storage Bins
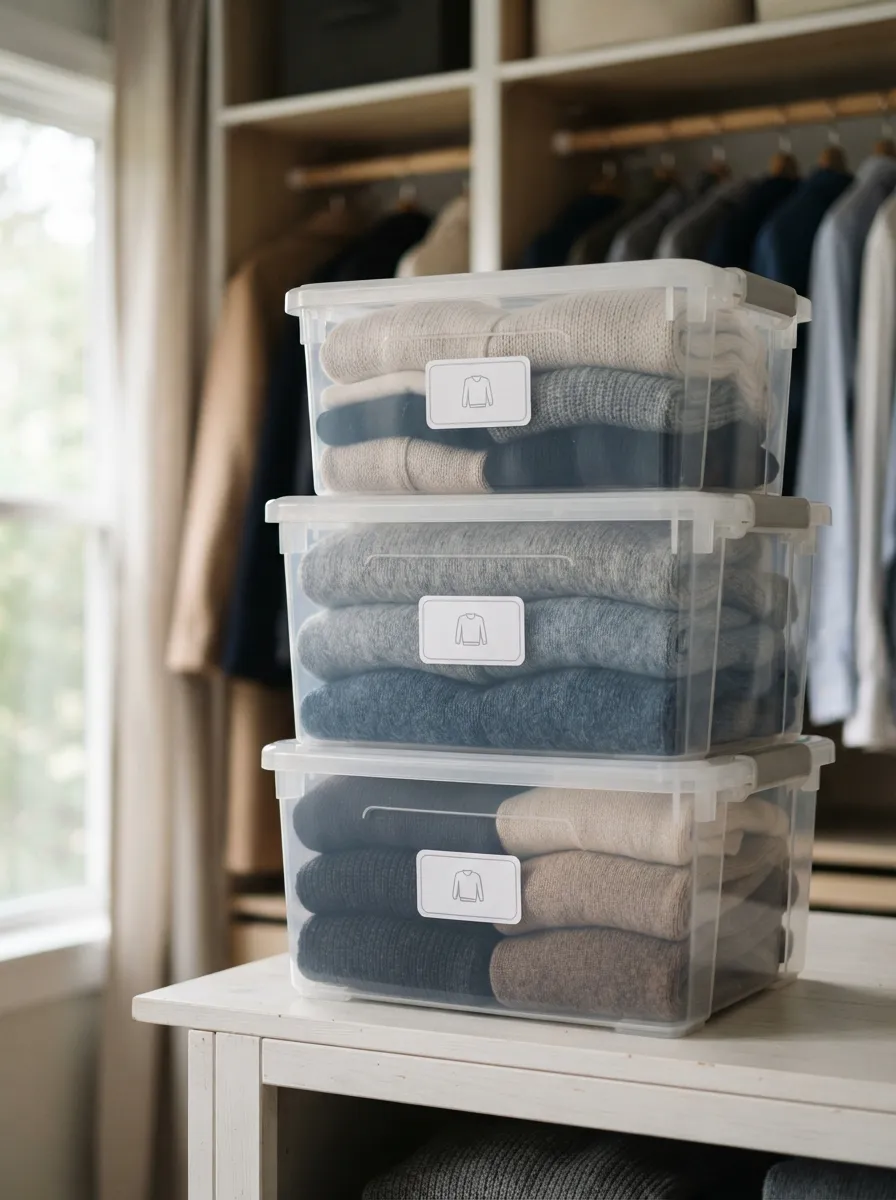
Clear bins let you see what’s inside without digging through piles. This saves time and keeps shelves looking tidy. Use them for seasonal items like sweaters, scarves, or swimwear that you don’t need every day. Stack them by category so each bin has a clear purpose. Dollar stores and home goods shops sell affordable clear bins in multiple sizes. For a DIY version, reuse clean shoeboxes and cover them with clear contact paper. Label each bin with a small tag so you can find things fast. This method works well for kids’ closets too, since children can see their clothes without pulling everything out. Keep bins the same size when possible so they stack evenly and don’t wobble. Place heavier bins on lower shelves and lighter ones up top for safety. Rotating seasonal clothes into bins also frees up hanging space for what you actually wear right now. It’s a small investment that pays off every time you get dressed in a hurry and still find things exactly where you left them.
3. Use a Slim Shoe Rack
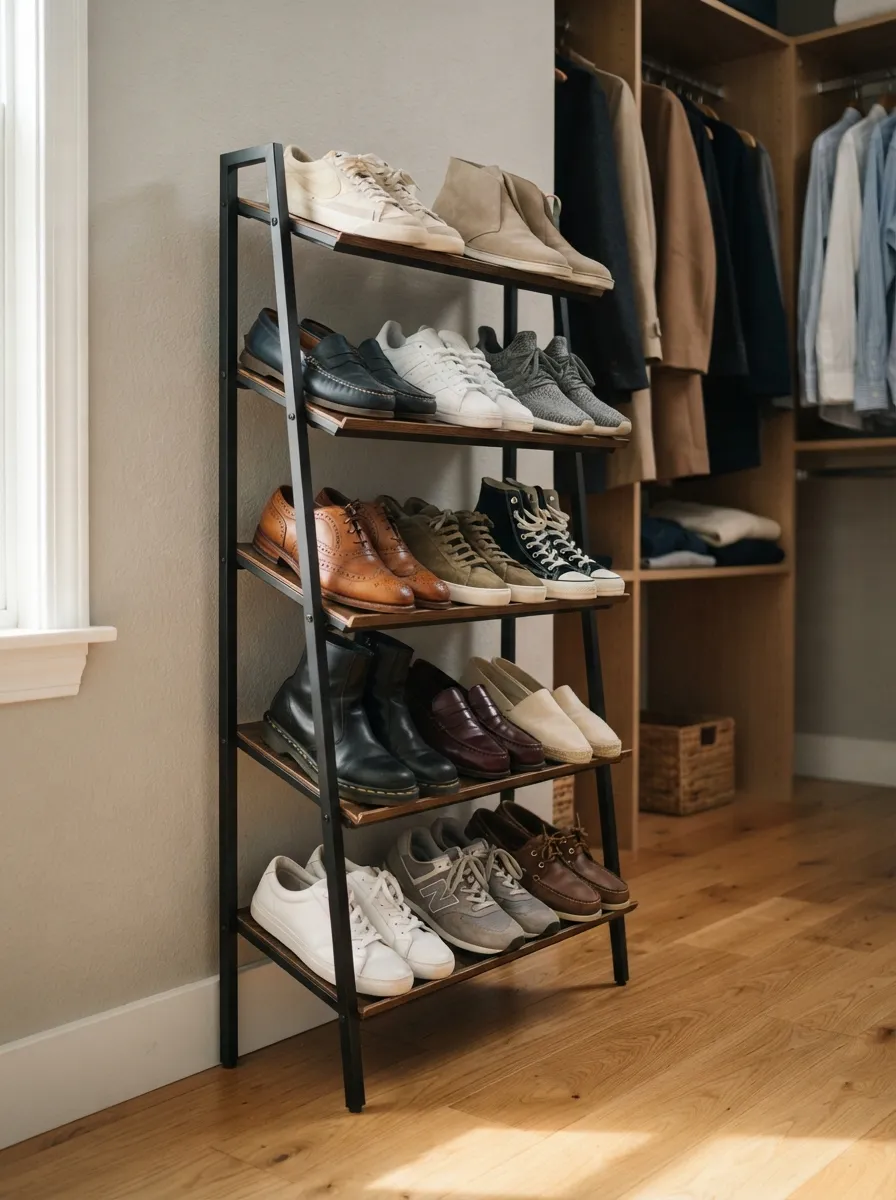
Shoes scattered across the closet floor make the whole space look chaotic. A slim shoe rack solves this without eating up much room. Angled racks let you see every pair at a glance while keeping the floor clear for cleaning. Choose a rack that fits your closet’s depth so it doesn’t block the door or hanging clothes. Budget options include stackable wire racks or over-the-door pocket organizers, both of which cost very little. A simple DIY fix is repurposing a wooden crate on its side, creating natural shoe cubbies. Sort shoes by how often you wear them, keeping daily pairs at eye level and occasional ones lower down. Rotate seasonal shoes into bins if space runs short. Cleaning shoes before storing them also keeps dust off other clothes nearby. A tidy shoe area sets the tone for the rest of the closet, since it’s usually the first thing people notice when they open the door. This small change makes mornings faster and the whole space feel more organized.
4. Install Battery-Powered LED Lights
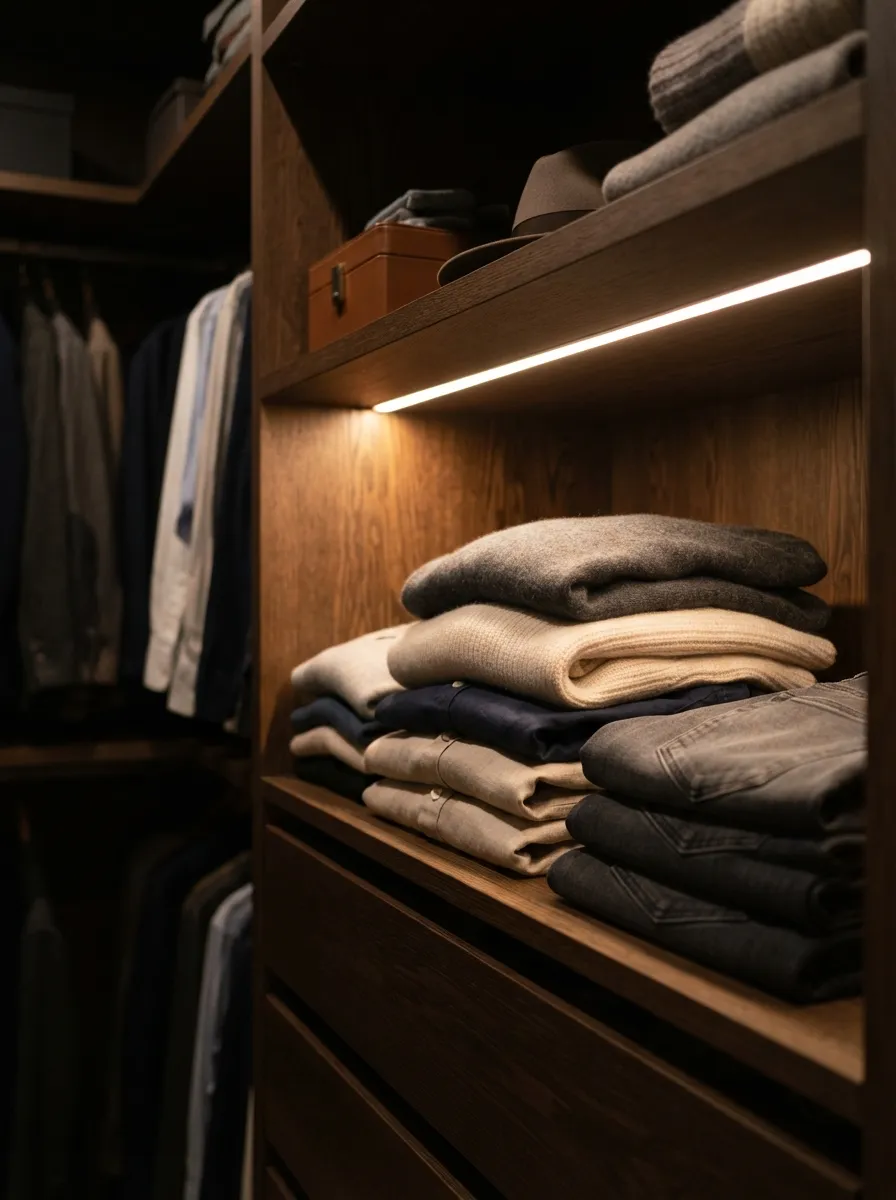
Dark closets hide dust, wrinkles, and mismatched colors. Adding battery-powered LED strips brightens the space instantly without any wiring work. Stick them along the top shelf or inside the door frame using the adhesive backing included in most kits. These lights are affordable, often under fifteen dollars, and run on batteries or small rechargeable packs. Motion-sensor versions turn on automatically when you open the door, which is a nice touch for early mornings. For a DIY budget option, a simple battery puck light stuck in a corner does the job just as well. Good lighting also helps you match colors correctly and spot stains before wearing something out. It makes the closet feel more like a small dressing room rather than a dark storage box. If you rent your home, these lights are a safe choice since they require no drilling or electrical changes. Replace batteries every few months or switch to a rechargeable set to save money long term. This upgrade takes fifteen minutes but changes how the space feels every single day.
5. Create a Color-Coded System
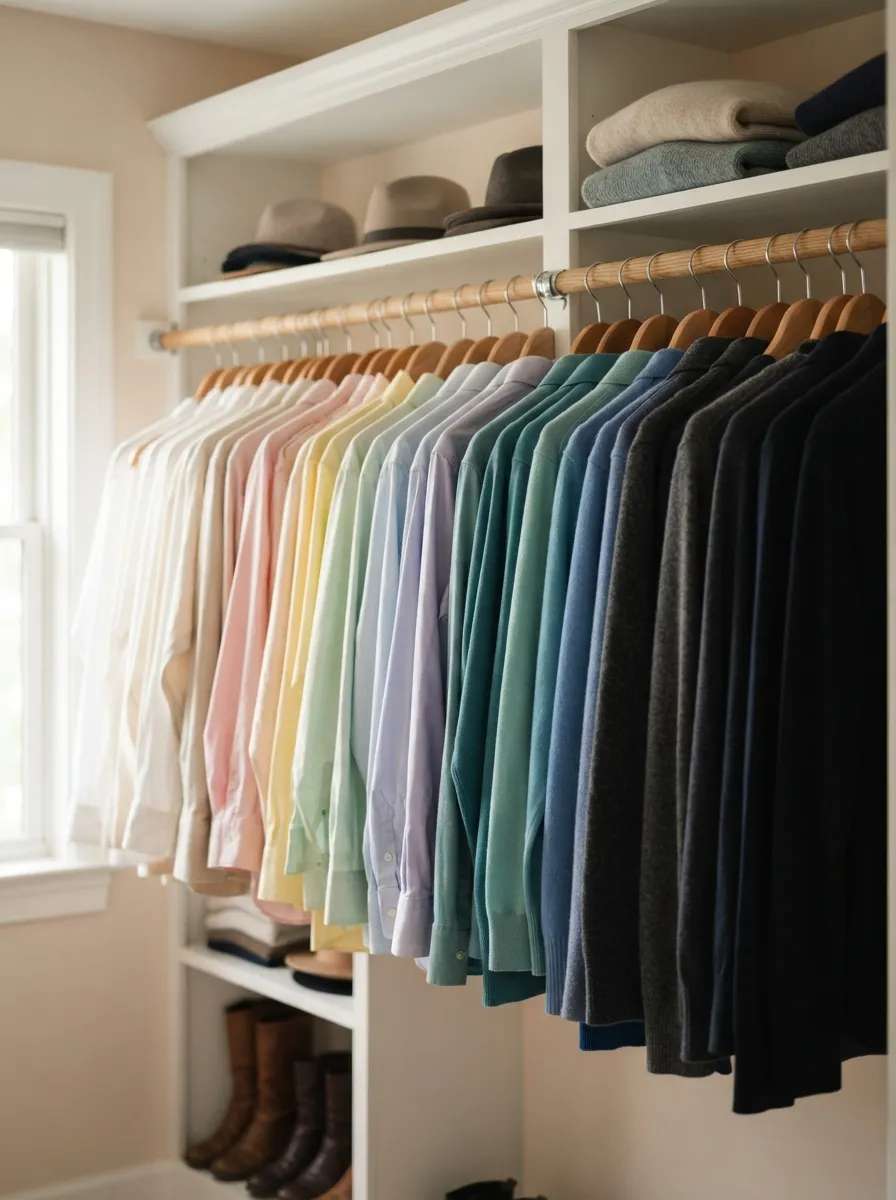
Arranging clothes by color turns a plain closet into something that looks like a boutique display. Group items by shade, starting with whites and light neutrals, moving through brights, and ending with darks. This system also makes it easier to find things fast, since you already know roughly where a color sits. It works for shirts, dresses, and even folded stacks on shelves. There’s no cost involved, just time on a slow afternoon. Start with one category, like tops, before moving to the rest of the closet. Take a photo of the finished setup so you remember the order when items get shuffled during laundry days. This trick also helps you notice gaps in your wardrobe, like too many blue shirts and not enough neutrals. It’s a simple, free way to make a wardrobe photo-ready and functional at the same time. Many people find they enjoy getting dressed more once everything has a visual rhythm to it, and mornings feel less rushed.
6. Add a Small Full-Length Mirror
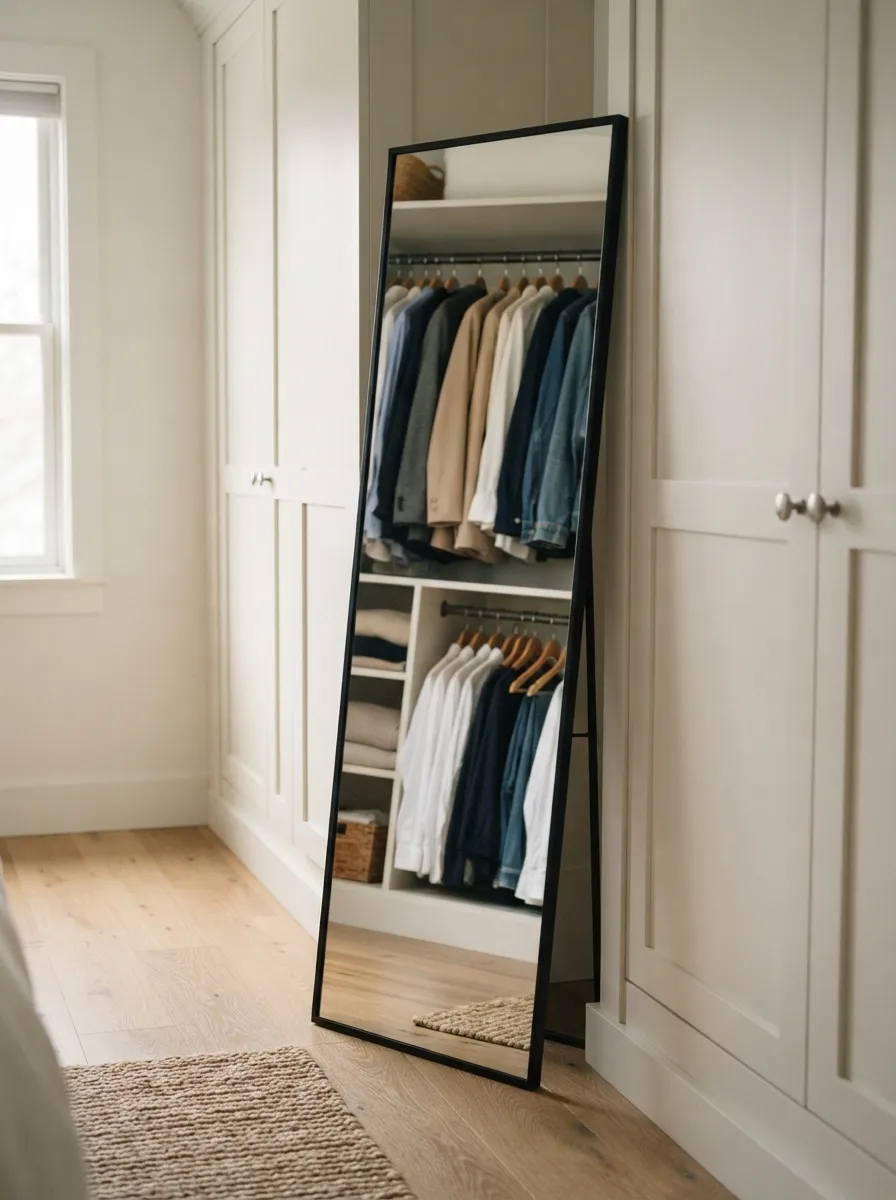
A mirror does double duty in a wardrobe space. It helps you check outfits before leaving the room, and it visually opens up a small closet. Choose a slim, leaning mirror if floor space is limited, or a door-mounted version if you want to save room entirely. Budget stores often carry basic mirrors for under twenty dollars. For a DIY approach, repurpose an old mirror frame with a fresh coat of paint to match your decor. Place it where natural light hits it during the day for the best reflection. A mirror near your wardrobe also encourages you to try on combinations before committing to laundry piles of rejected outfits. This small habit saves time and keeps clothes cleaner since fewer items end up tried on and tossed aside. If your closet is tiny, a mirror on the inside of the door is the most space-efficient option. It’s a simple addition that makes the whole area feel more finished and functional.
7. Use Drawer Dividers
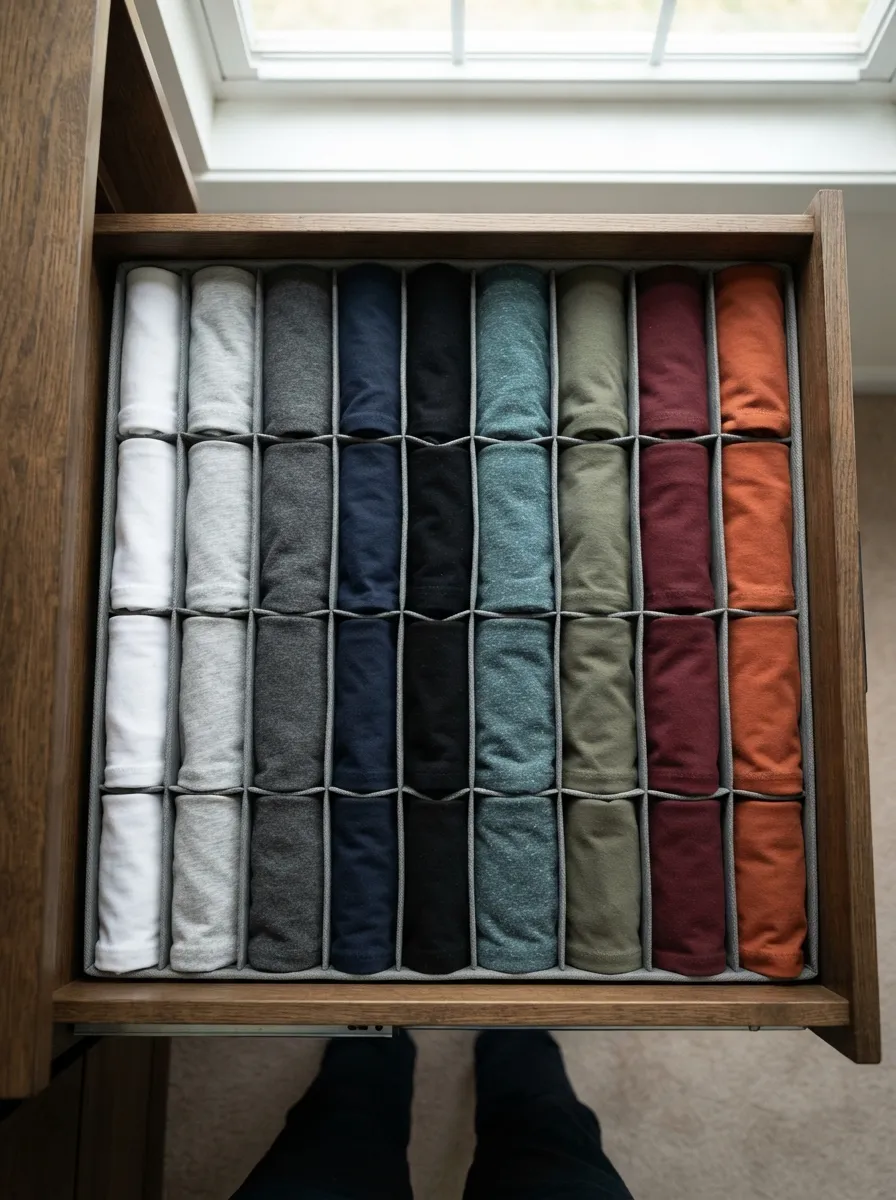
Drawers without dividers turn into a jumbled mess within days. Simple fabric or plastic dividers keep folded items separated and upright, so you can see everything without digging. This works especially well for t-shirts, underwear, and socks. Budget dividers cost just a few dollars per set and adjust to fit almost any drawer size. A DIY option is cutting cardboard strips and covering them with fabric or contact paper to match your style. Fold clothes using the vertical filing method, standing each item up instead of stacking flat. This way, you see the full contents of a drawer in one glance instead of unpacking a whole stack to find one shirt. Dividers also stop clothes from sliding around every time you open and close the drawer. Label sections if multiple people share the same dresser. This small investment saves real time during busy mornings and keeps drawers looking neat even after weeks of daily use. It’s one of the easiest wins for a cleaner wardrobe setup.
8. Hang a Woven Basket for Accessories
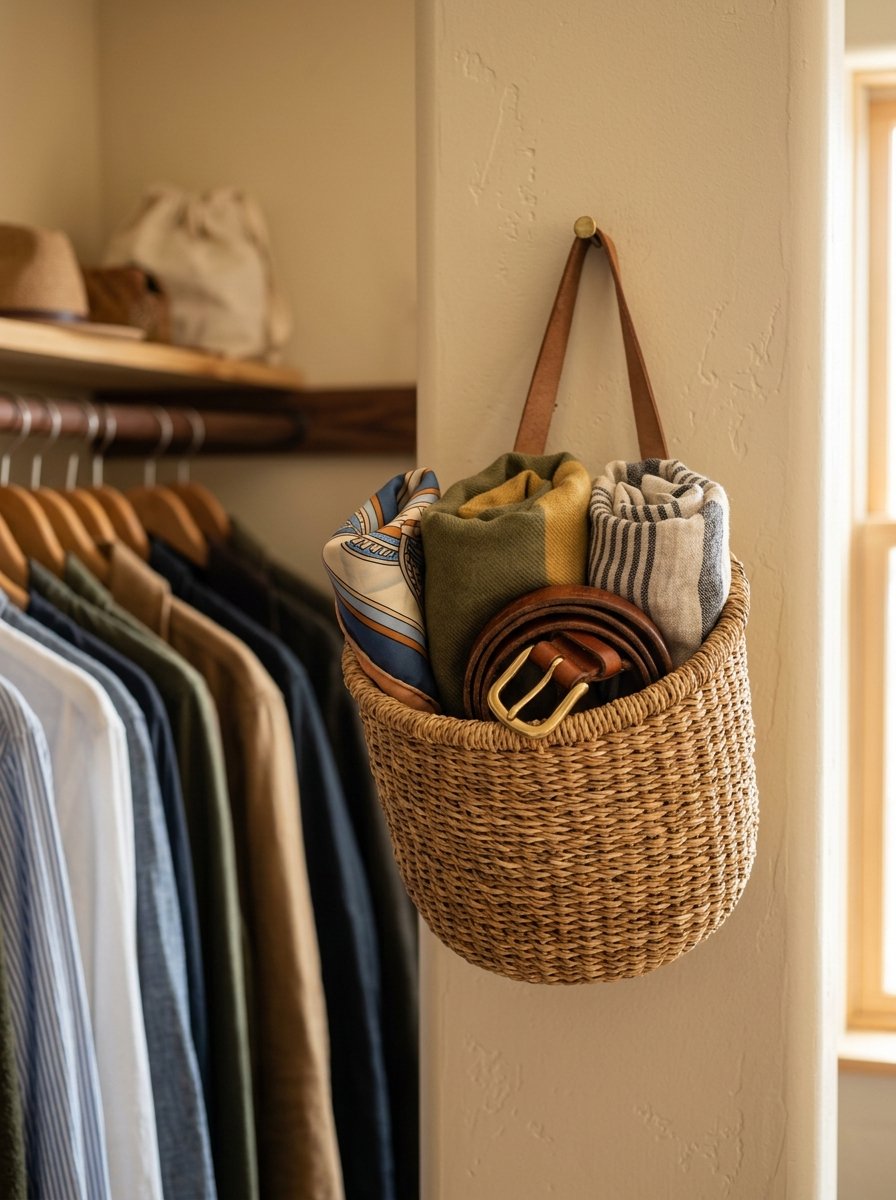
Small accessories like scarves, belts, and gloves often end up shoved into random corners. A hanging woven basket gives them a proper home while adding a warm, textured look to the closet. Mount it on the wall using a simple hook or command strip, no drilling required. Thrift stores and craft shops sell woven baskets cheaply, and many already come with a built-in hook or handle. For a DIY version, an old fruit basket with a ribbon loop attached works just as well. Keep only the accessories you use often in the basket, and store seasonal ones elsewhere. This keeps the display looking curated rather than overstuffed. The natural material also softens the look of a closet full of hard shelves and metal rods. Rotate items seasonally, swapping wool scarves for lighter ones as the weather changes. It’s a low-cost way to add both function and a bit of personality to an otherwise plain storage space.
9. Label Everything with Simple Tags
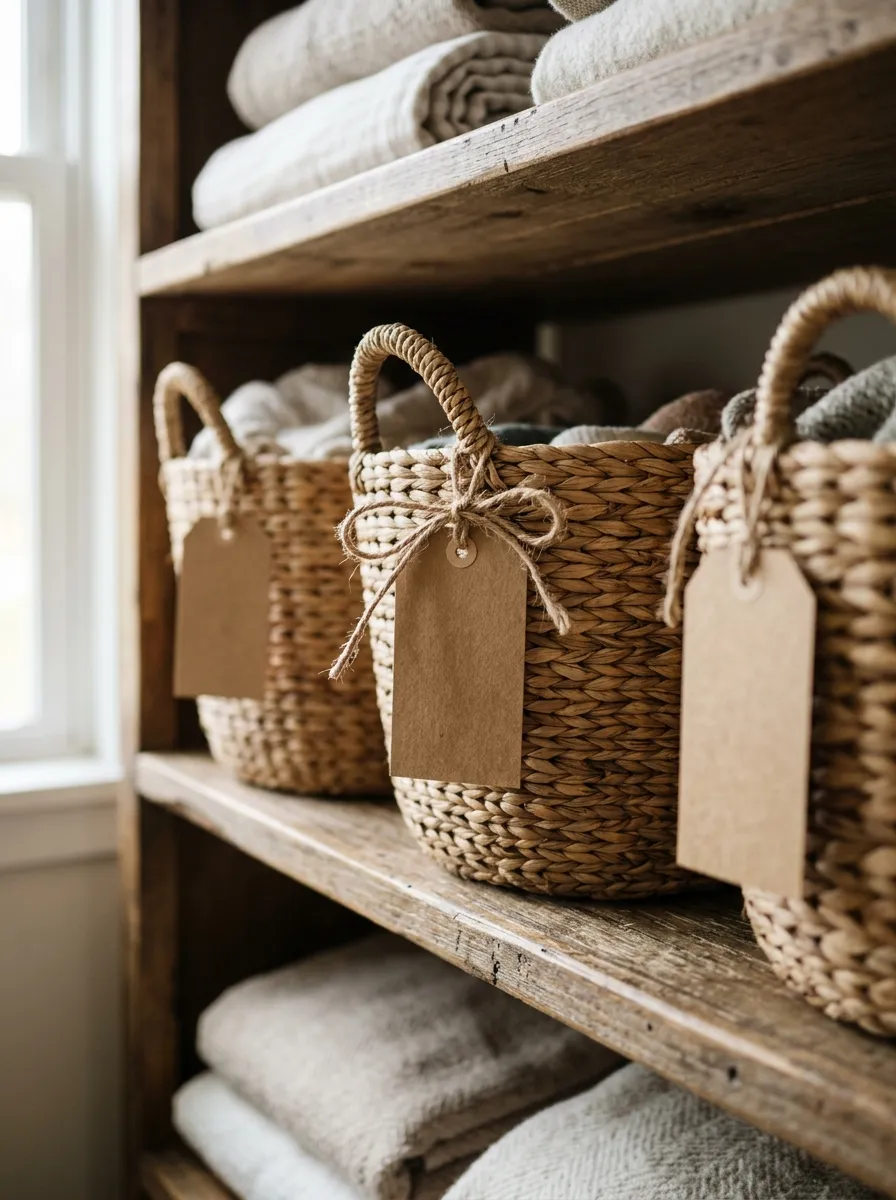
Labels remove the guesswork from a wardrobe system. Once bins and baskets are sorted, tag each one so you know exactly what’s inside without opening it. Simple kraft paper tags tied with twine look clean and cost very little. You can also use a basic label maker or masking tape with marker writing for a quick, no-fuss option. Labeling works especially well in shared closets or kids’ rooms, where multiple people need to find things fast. Keep the wording short: “Winter Sweaters,” “Workout Gear,” or “Off-Season.” This avoids clutter on the label itself. Update tags whenever you reorganize so the system stays accurate over time. A labeled wardrobe also makes it easier for other household members to put things back in the right spot, which keeps the space tidy for longer. It’s a five-minute task per container but saves repeated frustration down the road. This tiny habit turns a good system into one that actually lasts.
10. Add a Small Bench or Stool
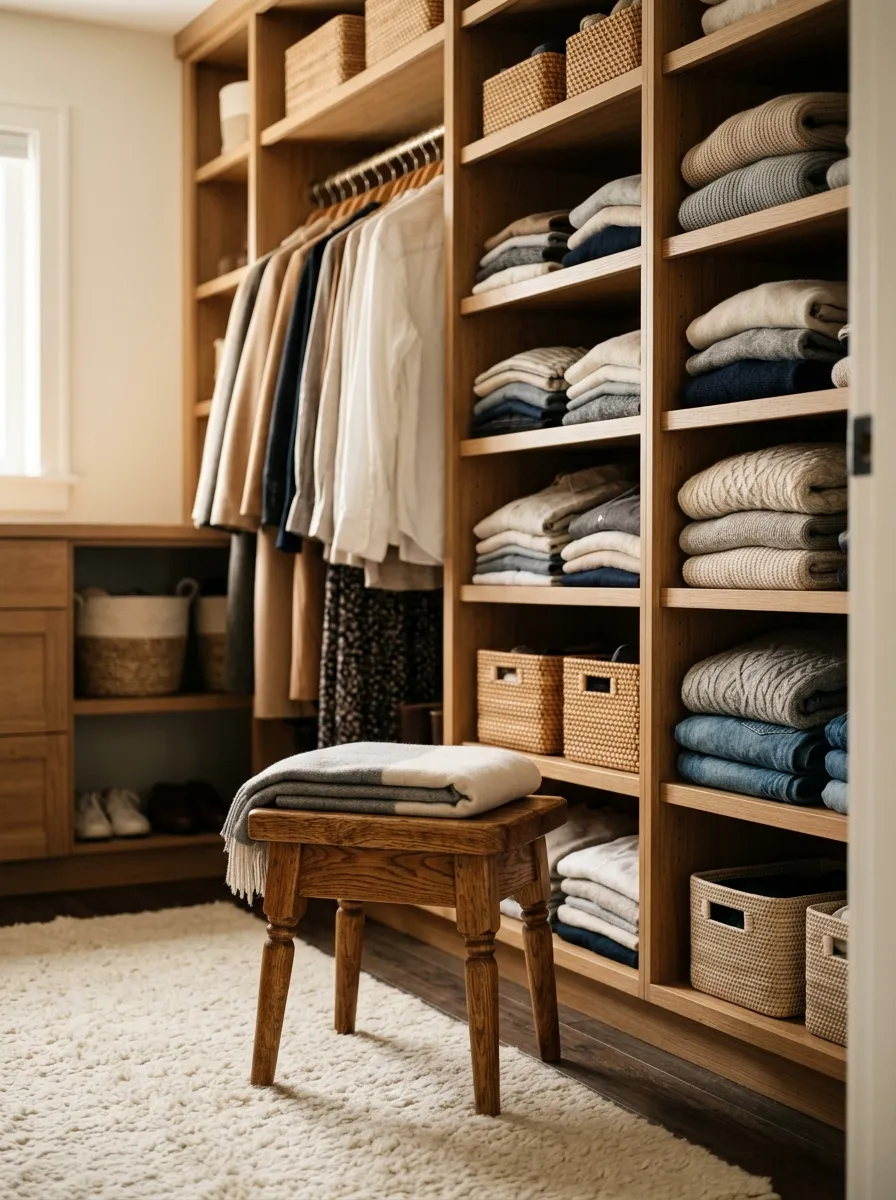
A small bench gives you a place to sit while putting on shoes, and it doubles as a spot to lay out an outfit before getting dressed. If your closet has enough floor space, even a simple stool makes a noticeable difference in how functional the room feels. Budget options include a folding stool or a cushioned ottoman from a discount furniture store. For a DIY project, stack two sturdy wooden crates and top them with a cushion for an easy seat. Choose a piece that’s easy to move if your closet doubles as a walkthrough space. This small addition also gives you a landing spot for bags, belts, or clothes you’re deciding whether to keep or donate. It stops the floor from becoming a dumping ground for “maybe” items. Over time, having a designated seat keeps clutter from building up in random corners, since there’s now a clear purpose for that space.
11. Use Matching Fabric Bins for Shelves
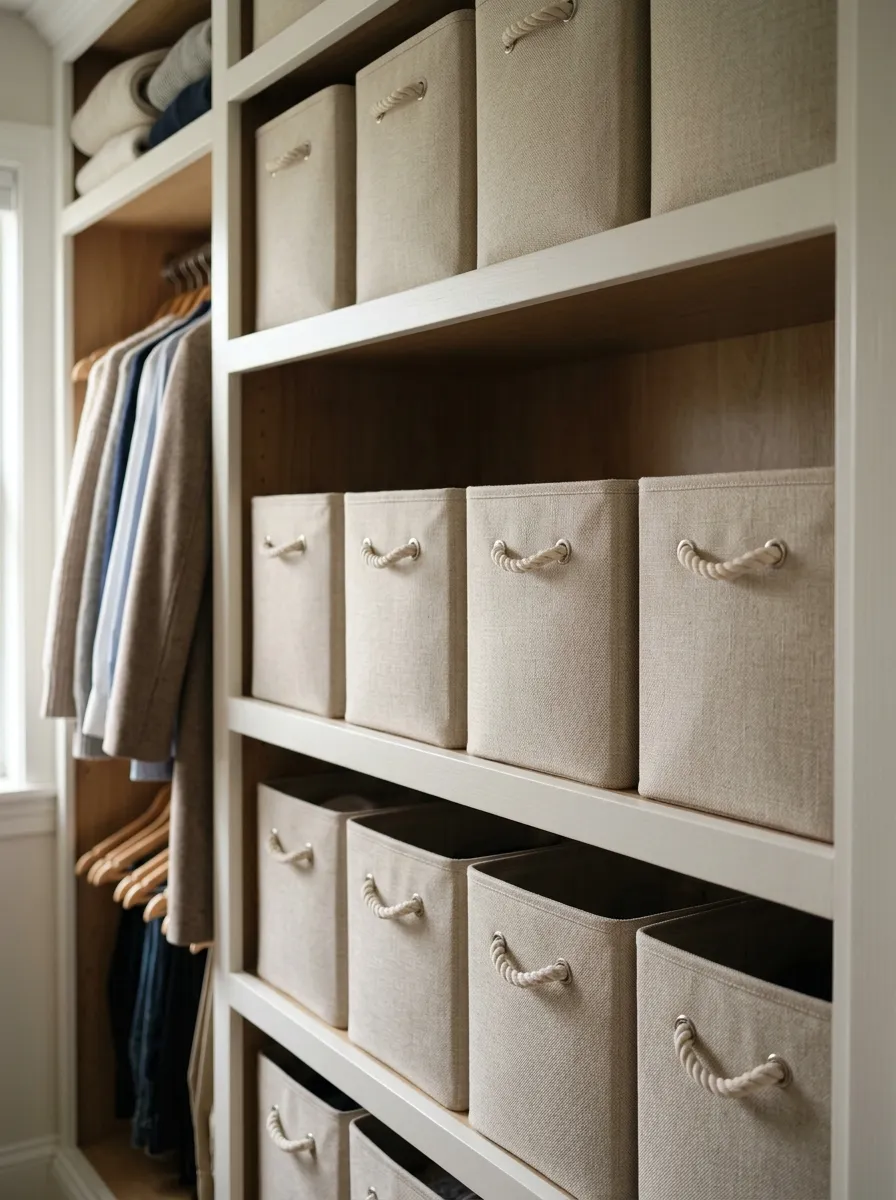
Open shelving looks best when everything on it follows the same visual style. Matching fabric bins create that uniform look while hiding smaller items that don’t fold neatly, like socks or workout gear. Choose a neutral color that fits your overall closet palette, such as canvas, gray, or white. Budget fabric bins are widely available at home stores for a few dollars each. A DIY alternative is covering cardboard boxes with fabric using spray adhesive, which costs very little and looks surprisingly polished. Keep bin sizes consistent across a shelf so the row looks intentional rather than random. Use them for items you don’t need to see daily, saving open shelf space for things you grab often. Fabric bins also soften the look of a closet that’s mostly hard surfaces like wood and metal rods. Swap out bins seasonally if you store off-season items separately. This approach keeps a shelf looking finished even when it’s holding a mix of odd-shaped items behind the scenes.
12. Install a Second Hanging Rod
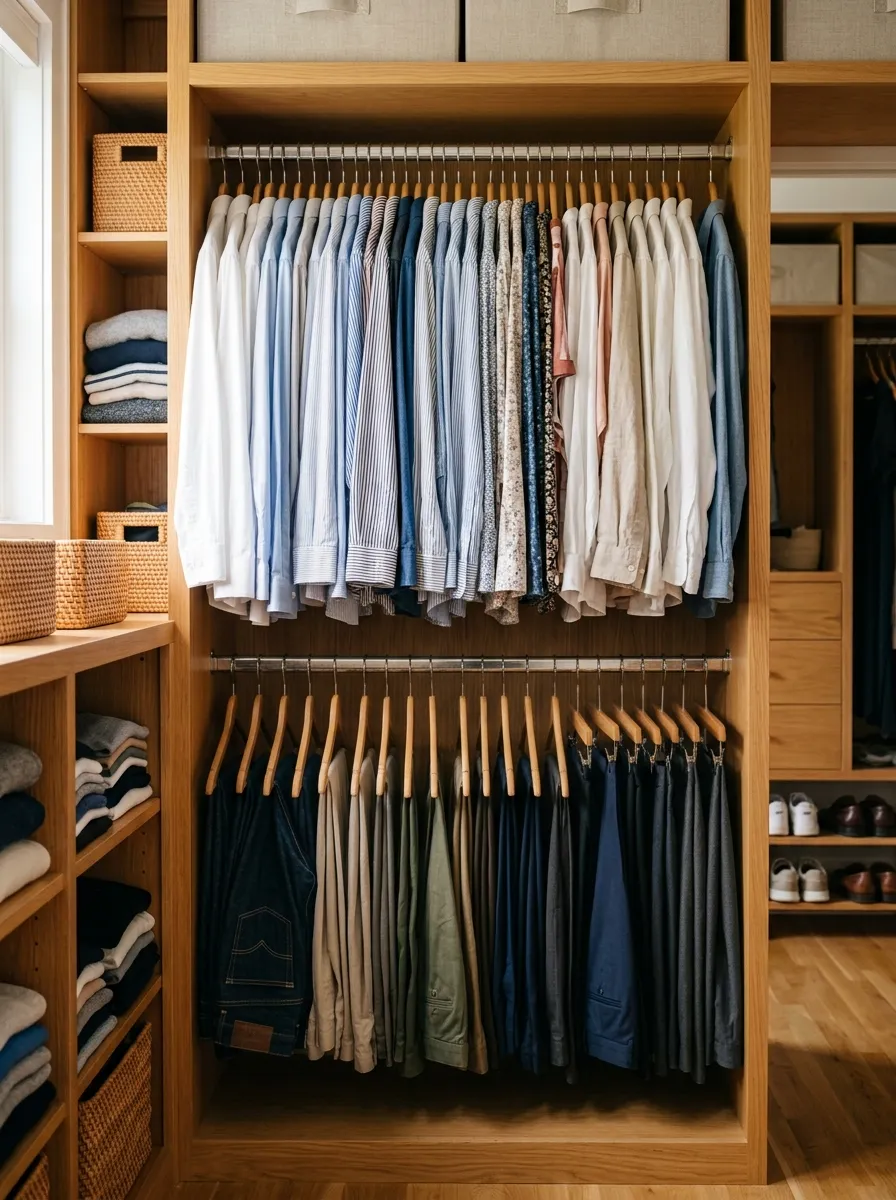
Most closets only use half their vertical space. Adding a second rod below the existing one doubles your hanging capacity, especially for shorter items like shirts, skirts, and folded pants. Tension rods are the cheapest option since they require no tools or drilling, just a rod that expands to fit the width of your closet. Adjustable closet rod brackets are another affordable choice if you want something more permanent. This works best in sections where clothes don’t need full-length hanging space, like a shirt or blouse area. Measure the height before buying so items don’t drag on the floor or the rod below. This upgrade instantly creates more room without needing a bigger closet or extra furniture. It’s especially useful for smaller apartments where storage space is limited. Once the second rod is in place, group items by type so the extra space stays organized instead of becoming another catch-all zone for random clothes.
13. Add a Chalkboard or Whiteboard Tag
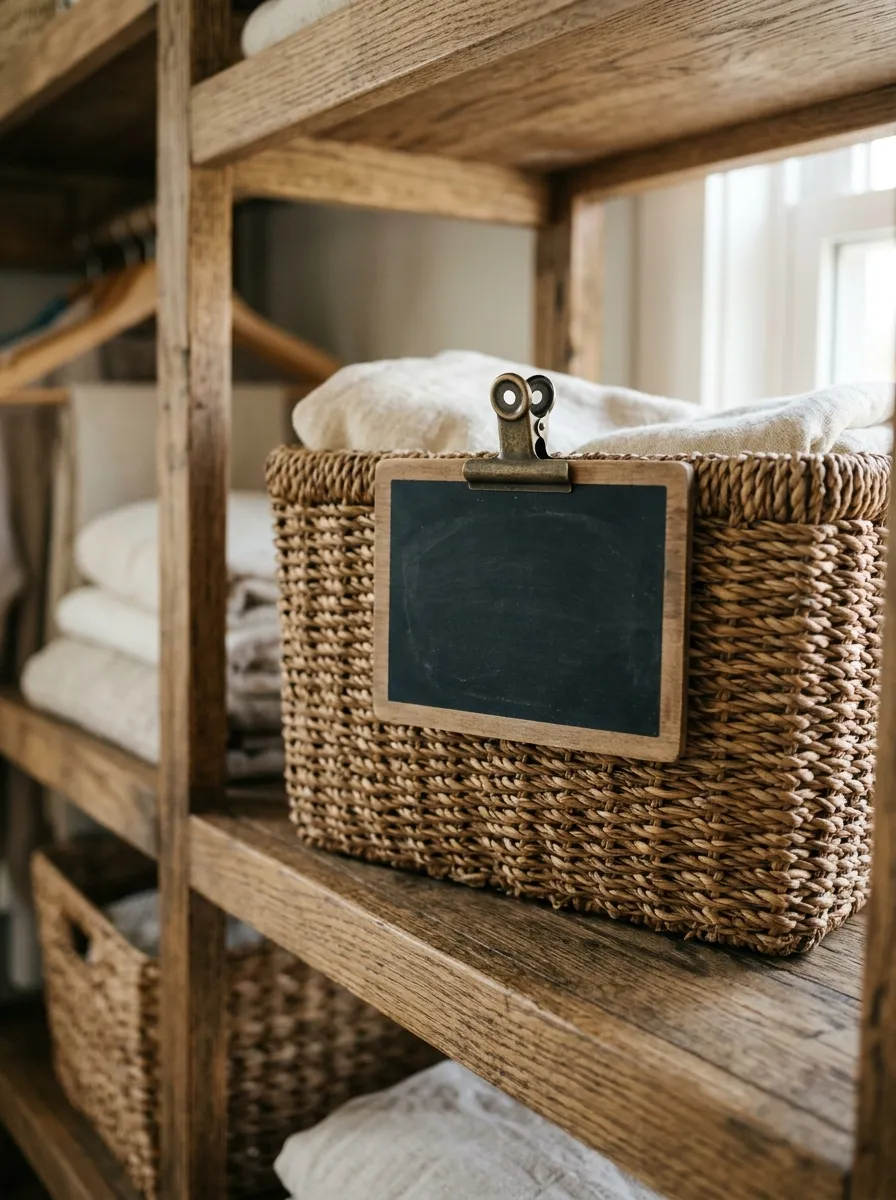
A reusable label beats a sticky one when your storage system changes often. Small chalkboard or whiteboard tags let you update what’s inside a bin without buying new labels each time. Clip them onto baskets with a mini clothespin or attach with a loop of twine. These tags cost very little at craft stores, and a pack usually covers several containers at once. For a DIY version, paint small wood scraps with chalkboard paint and drill a hole for string. This works well for households that rotate storage by season, since you can wipe off “Summer Clothes” and write “Winter Clothes” in seconds. It also helps if you’re still figuring out your organizing system and don’t want to commit to permanent labels yet. Keep the handwriting simple and legible so anyone using the closet can read it quickly. This small, reusable tool keeps the system flexible while still looking neat and considered on the shelf.
14. Use Velvet Non-Slip Hangers for Delicates
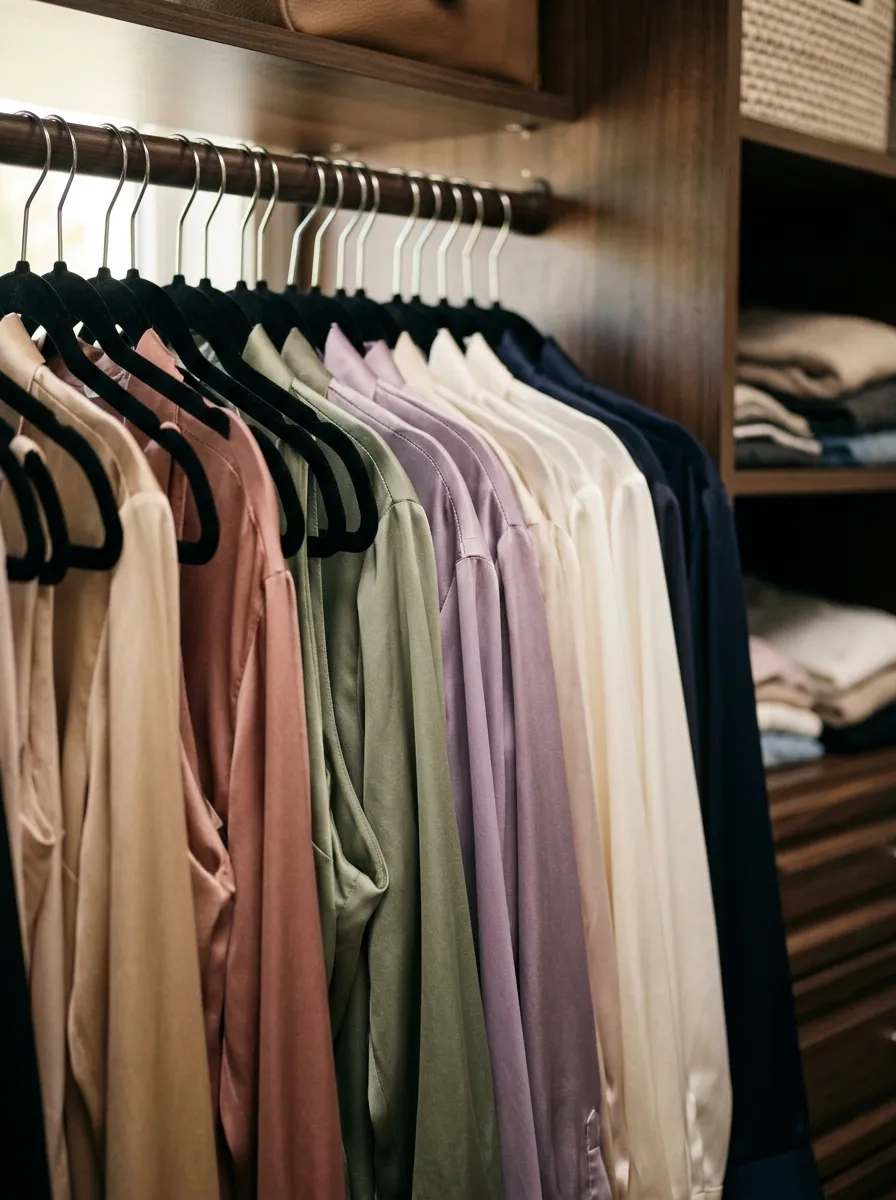
Delicate fabrics like silk and satin slide right off regular hangers, landing in a heap at the bottom of the closet. Velvet, non-slip hangers solve this problem because their textured surface grips fabric in place. They’re also thinner than standard hangers, which means you can fit more clothes into the same space. Budget packs of twenty or more are available at most discount stores for a low price. Reserve these hangers for your more delicate or slippery items, like blouses, camisoles, and dresses that need extra care. This keeps them from stretching out on bulky hangers meant for jackets or sweaters. Because velvet hangers are so slim, using them throughout the closet can also free up noticeable extra rod space. If you’re on a tight budget, start with a small pack for your most-worn delicate pieces and add more over time. This small switch protects your clothes and keeps hanging items looking straight and tidy instead of slouched and wrinkled.
15. Add a Jewelry Organizer Board
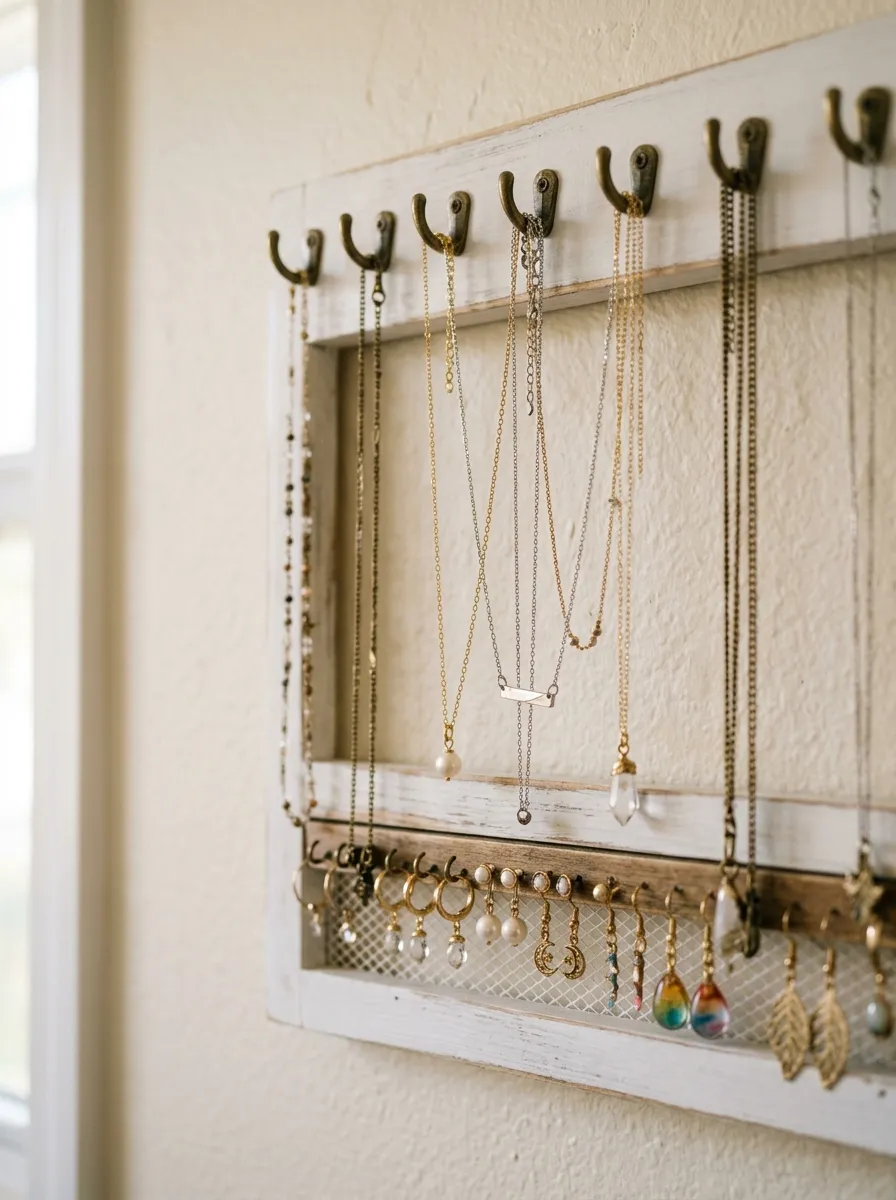
Tangled necklaces and lost earrings are a common wardrobe frustration. A wall-mounted jewelry board keeps everything visible and untangled at the same time. Mount small hooks into a piece of corkboard or reclaimed wood, then hang necklaces and bracelets individually. Earrings can go through small holes punched into mesh fabric or a fine net stretched across a frame. Craft stores sell inexpensive hook sets, and the board itself can be built from scrap wood for almost no cost. This project takes under an hour and instantly turns jewelry from a drawer of knots into a small display. Hang the board inside the closet door or on an open wall section for easy access while getting dressed. Group jewelry by type, keeping everyday pieces near the front and special-occasion items toward the back. This system also helps you spot missing pieces quickly, since everything is visible at a glance instead of hidden in a jumbled box.
16. Store Off-Season Clothes in Vacuum Bags
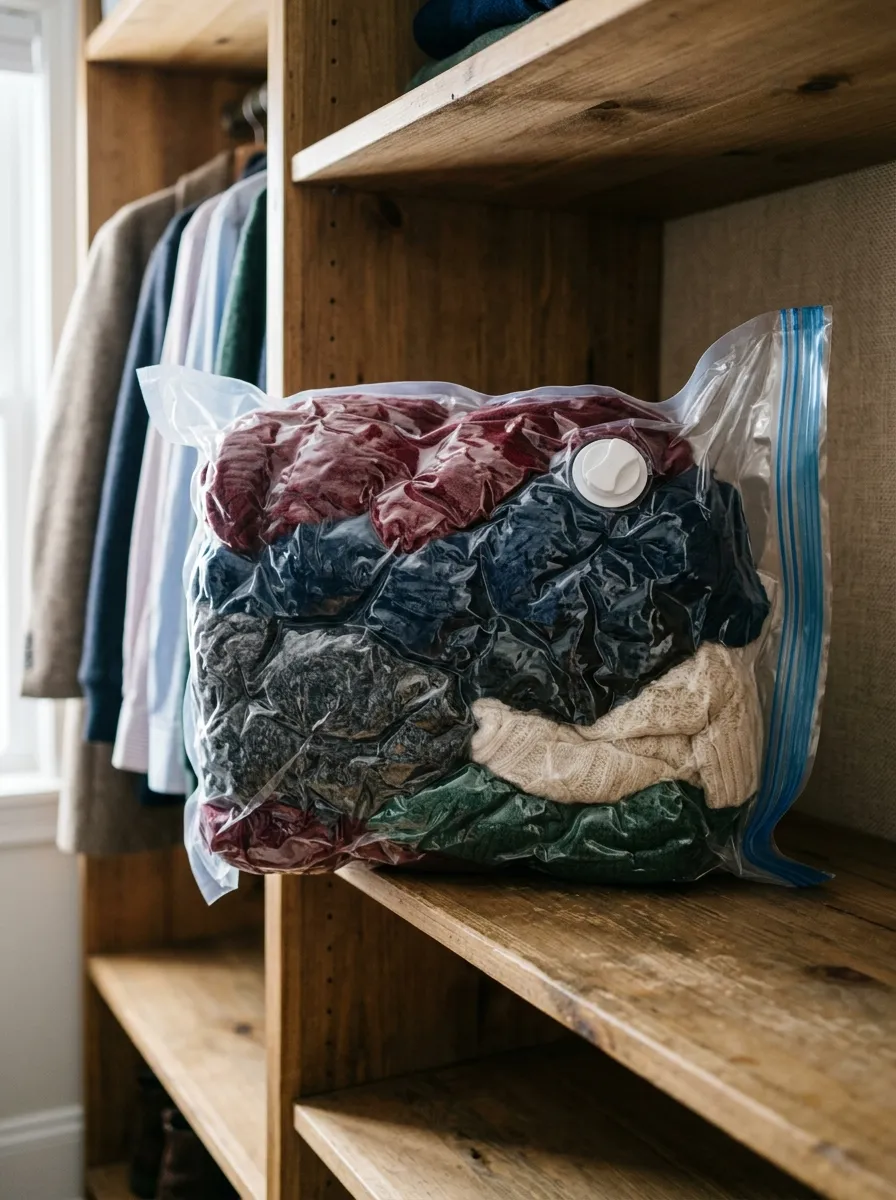
Bulky seasonal items eat up closet space year-round if you let them. Vacuum storage bags compress clothes like coats and sweaters into a fraction of their original size, freeing up shelf and rod space for what you’re currently wearing. These bags are widely available at discount stores and often come in packs of several sizes. Simply fold clothes inside, seal the bag, and use a vacuum to suck out the air. Store the flattened bags on a high shelf or under a bed if closet space is especially tight. This method also protects clothes from dust and moths during long storage periods. Label each bag before sealing it so you know what’s inside without having to reopen it. Rotate bags seasonally, swapping in current-weather clothes as the months change. This simple system keeps a small closet from feeling overstuffed with clothes you won’t wear for months, while still keeping everything easy to find when the season shifts again.
17. Add Removable Wallpaper to the Back Wall
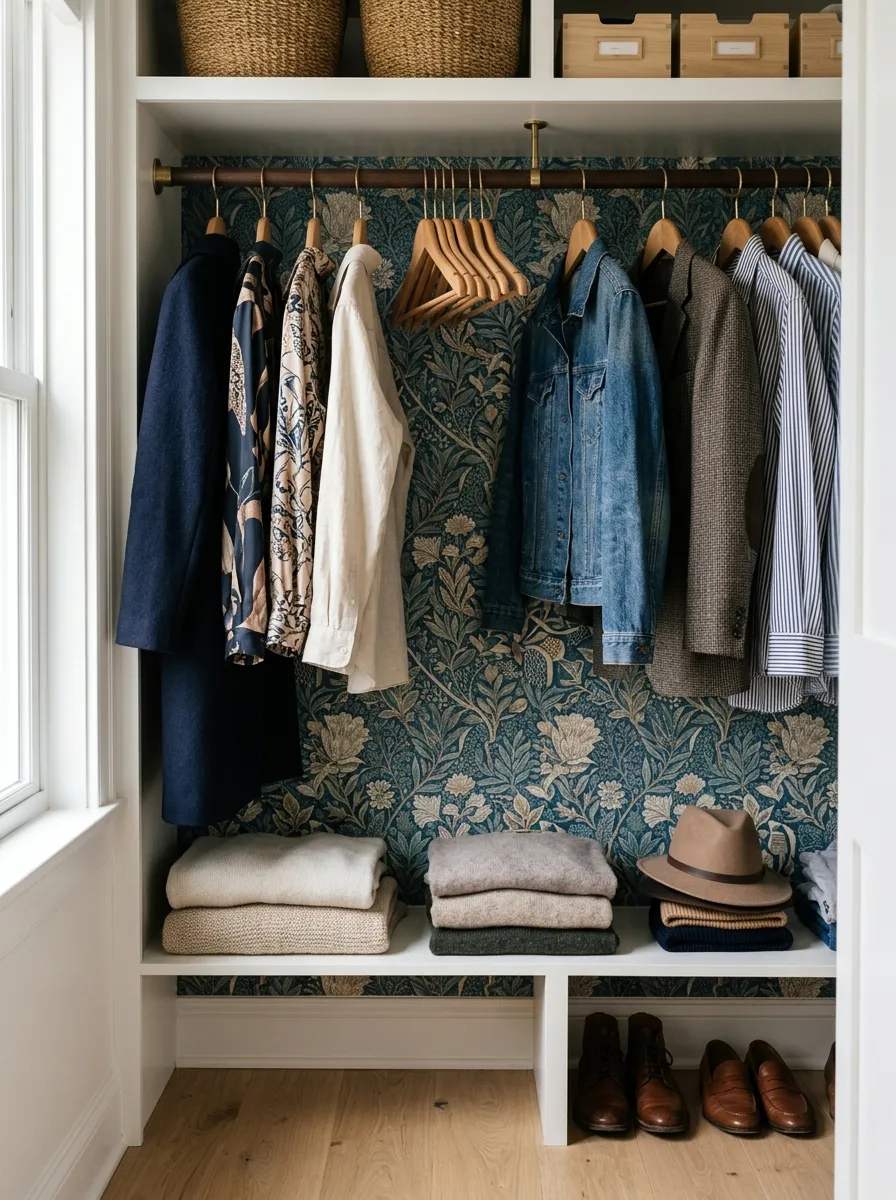
A plain wall inside a closet is an easy spot to add personality without much effort. Removable wallpaper sticks on without damaging the surface underneath, making it perfect for renters or anyone who likes to switch styles often. Choose a pattern that complements your clothes rather than competing with them, like a soft print or subtle texture. Budget rolls are available at most home improvement stores, and a single roll usually covers a standard closet wall. Installation only requires a smooth surface, a squeegee tool, and some patience during application. For a smaller-scale version, apply wallpaper only to the back panel of open shelving instead of the whole wall. This adds a pop of color every time you open the closet door, without a big investment. When it’s time to move or redecorate, the wallpaper peels off cleanly. It’s one of the more visually rewarding upgrades on this list, turning a plain storage space into something that feels considered and finished.
18. Use Stackable Acrylic Organizers for Folded Items
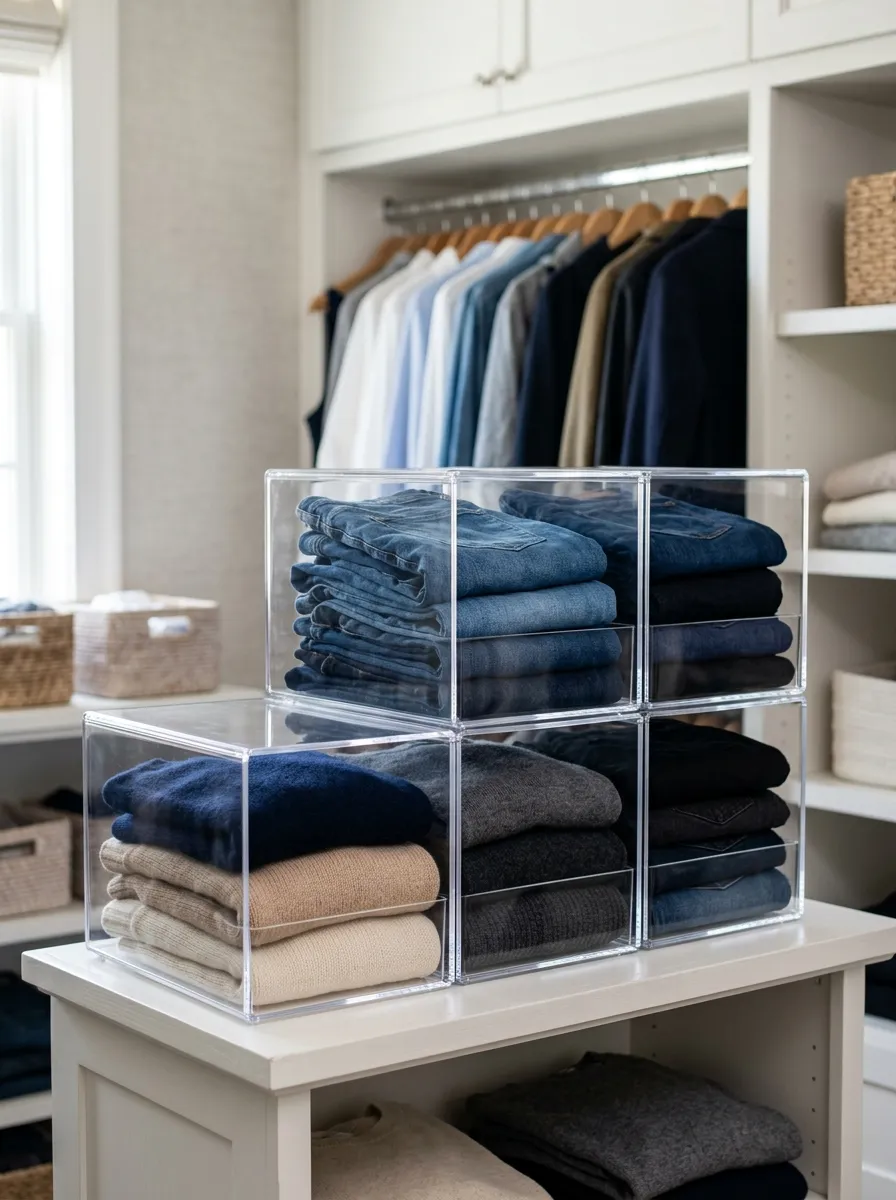
Folded stacks tend to topple over the moment you pull one item from the middle. Stackable acrylic organizers keep folded clothes upright and separated, so pulling one shirt doesn’t collapse the whole pile. These organizers are see-through, which makes it easy to spot what you need without unfolding everything. Budget versions in clear plastic work just as well as pricier acrylic ones, and both are available at home organization stores. A DIY option is using clean, cut-down cereal boxes as makeshift dividers inside a drawer or shelf space. Stack organizers two or three high if your shelf has extra vertical room, keeping heavier items like jeans on the bottom tier. This system works particularly well for shelves without drawers, since it brings drawer-like order to open storage. Once items are set up this way, maintaining the system takes only seconds each time you get dressed, since everything has a clear, upright spot to return to.
19. Add a Scented Sachet or Cedar Block
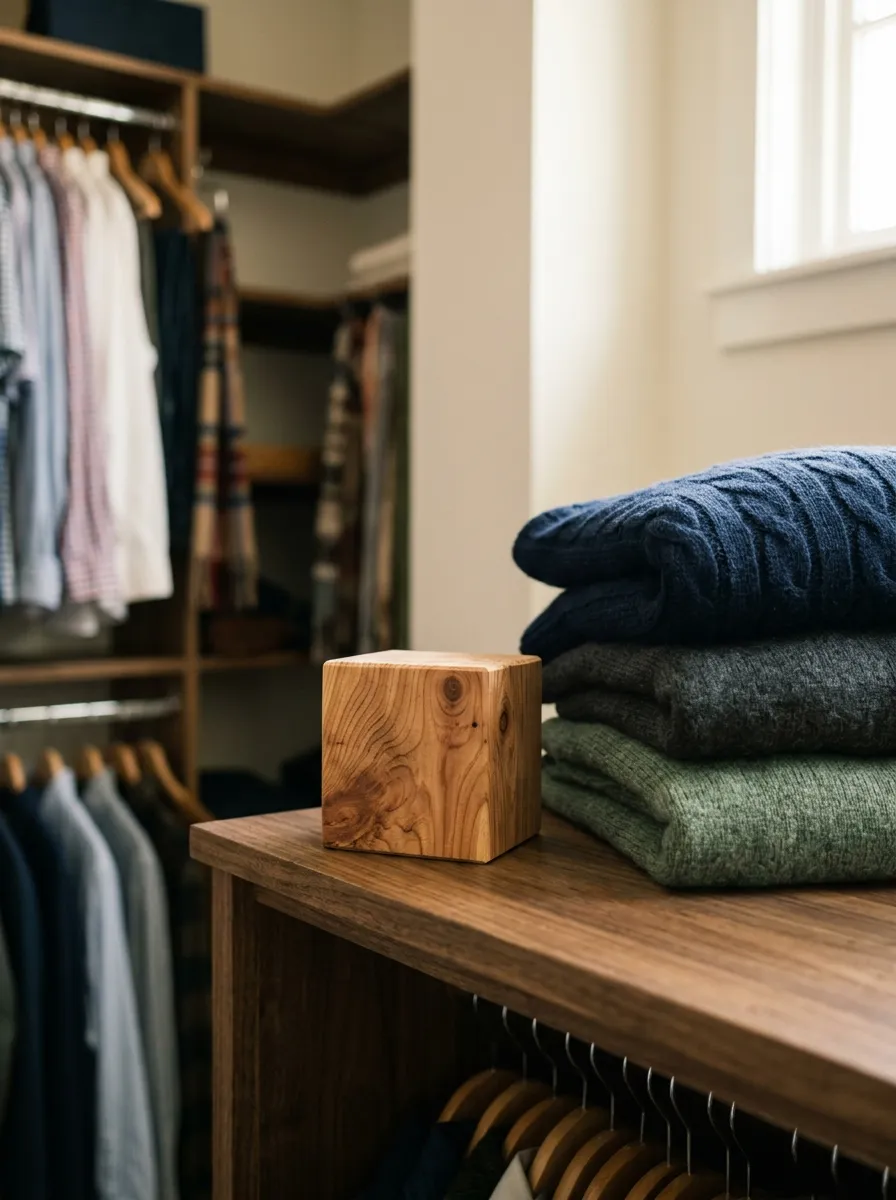
A closet that smells fresh feels cleaner even before you touch anything. Cedar blocks naturally repel moths while giving off a light, woody scent, making them a practical and pleasant addition. Place a few blocks on shelves or tuck them into drawers among folded sweaters. Lavender sachets work as a budget-friendly alternative, and both options are widely available at low prices from home goods stores. For a DIY version, fill small fabric pouches with dried lavender or cedar shavings and tie them shut with ribbon. Refresh cedar blocks every few months by lightly sanding the surface to release more scent, which saves you from buying new ones too often. Avoid heavy sprays or plug-in fresheners directly inside the closet, since they can leave a strong smell on fabric over time. A subtle natural scent is enough to make the whole space feel more put-together. It’s a small, low-cost detail that makes a noticeable difference every time you open the door.
20. Create a Donation Basket Inside the Closet
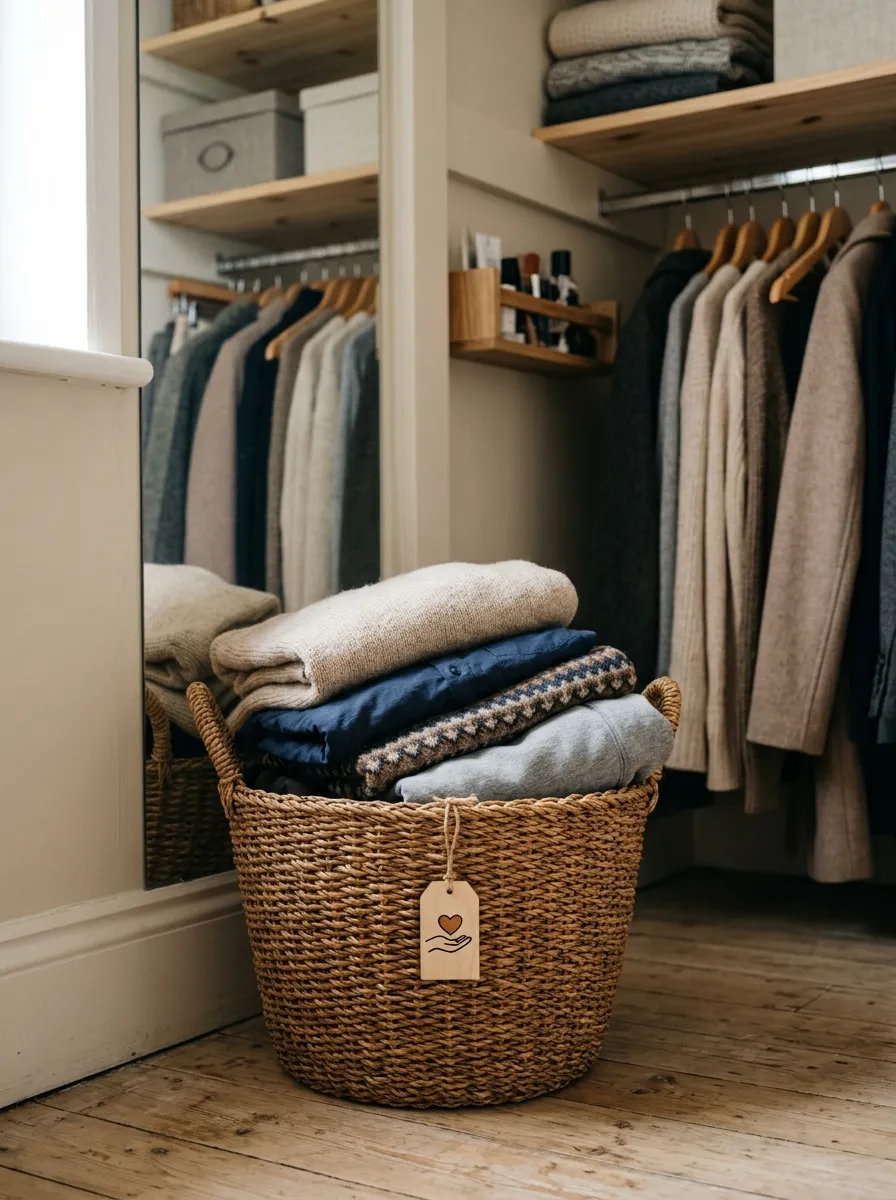
Keeping a wardrobe clean isn’t just about storage, it’s also about letting go of items you no longer wear. A donation basket inside the closet makes this an ongoing habit instead of a once-a-year chore. Whenever you try something on and realize it no longer fits your style, drop it straight into the basket. Use any spare basket, box, or bag you already own, so this step costs nothing. Once the basket fills up, take it straight to a donation center instead of letting it sit around the house. This habit prevents clutter from building back up after a big organizing session. It also makes decision-making easier in the moment, since you don’t have to set clothes aside “to deal with later.” Over time, this simple system keeps your wardrobe closer to the size and style you actually want, without needing another big cleanout every few months. It’s a small addition that keeps the whole system working long after the initial setup.
Final Thoughts
A clean, organized wardrobe doesn’t require a full renovation or a big budget. Small swaps like matching hangers, clear bins, and better lighting add up to a space that feels calmer and works harder for you every day. Pick two or three ideas from this list to start, then build on them as time and budget allow. The goal isn’t perfection, it’s a system you can actually keep up with. Once your wardrobe has a clear place for everything, getting dressed each morning becomes faster, simpler, and a little more enjoyable.