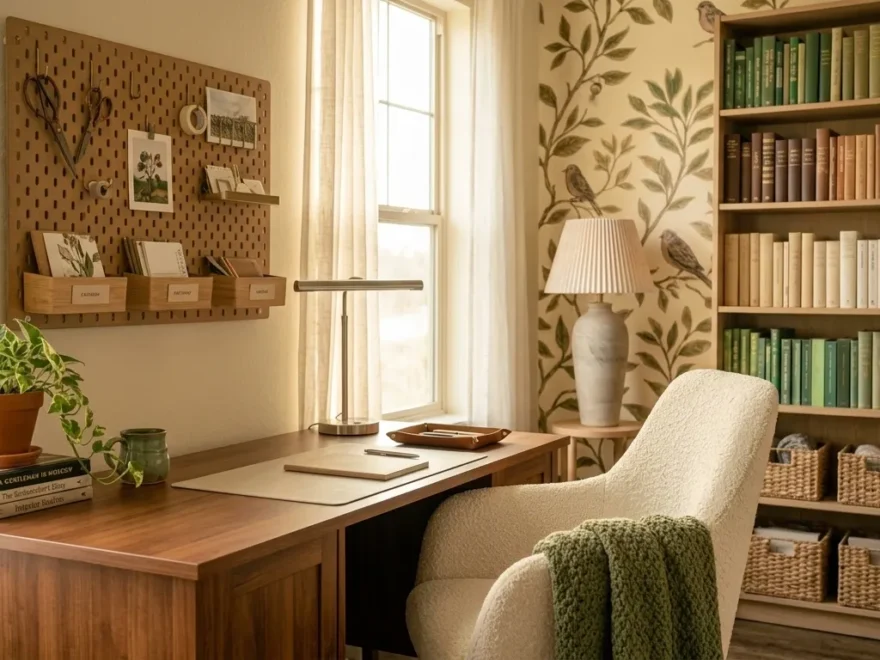
Your study space directly affects how well you think, focus, and retain information. A cluttered, uncomfortable, or poorly lit room makes it harder to sit down and do the work. But a thoughtfully arranged study space does the opposite. It signals to your brain that it is time to focus. It reduces friction before you even open a book. The good news is that you do not need a large room or a big budget to create a space that works for you. Small, intentional changes to your furniture arrangement, lighting, storage, and decor can transform even a corner of a bedroom into a productive and enjoyable place to study. This guide gives you 25 practical, affordable, and genuinely effective study room decor ideas that help you stay focused and actually enjoy spending time at your desk. If you’re also exploring fireplace decor ideas, using warm lighting, layered textures, and balanced decorative pieces can help create a cozy focal point that makes the entire room feel more inviting and comfortable.
1. Choose a Dedicated Study Spot and Commit to It
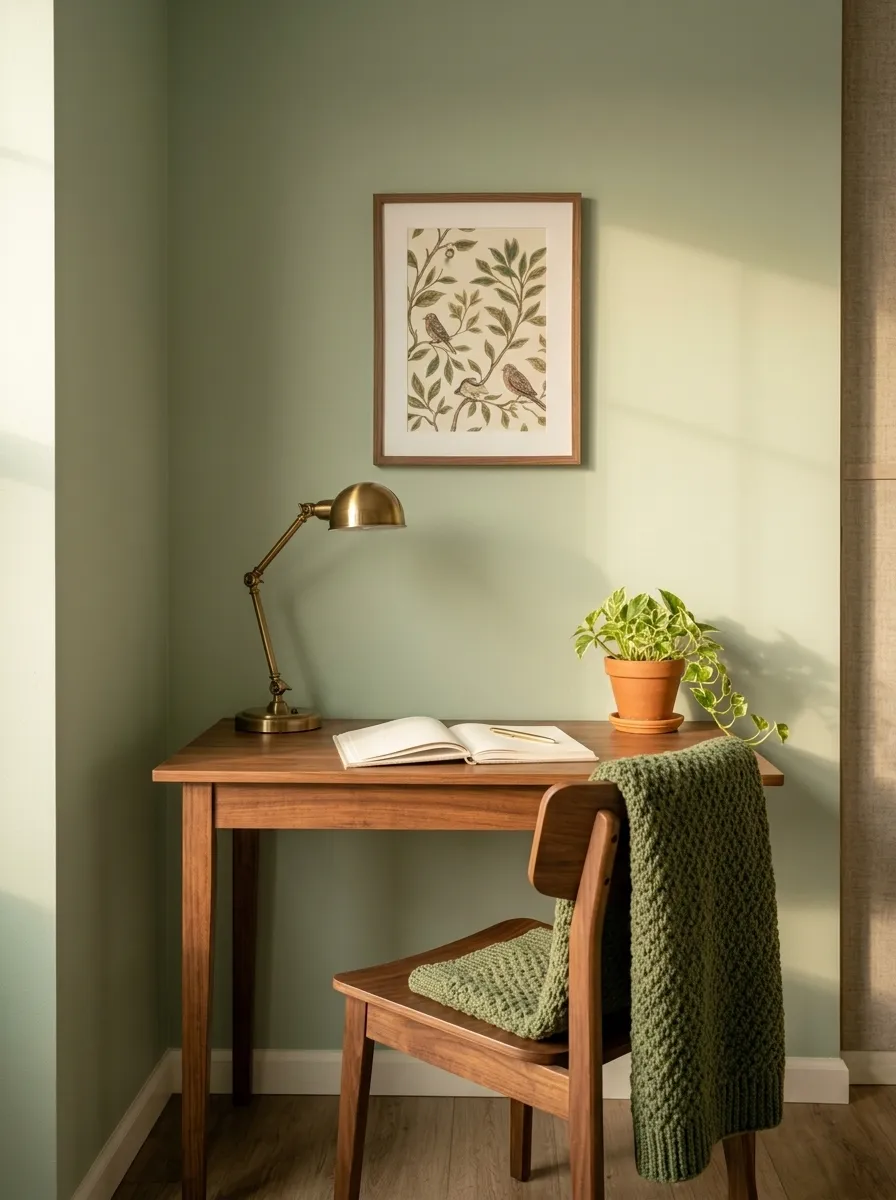
Your brain learns through repetition.
When you always study in the same spot, your brain begins to associate that location with focus and work. This makes it easier to get started every single time.
Pick one specific spot in your home. It could be a corner of a bedroom, a spare room, or even a section of a living room separated by a bookshelf.
Define the space clearly. This matters more than the size.
A desk and a chair are enough to create a functional zone. You do not need a whole room.
If you share a space, use a room divider, bookshelf, or curtain to visually separate your study area from the rest of the room.
Consistency is what makes this work. Avoid studying in bed, on the sofa, or at the kitchen table if you want your brain to associate those places with rest.
Keep the desk clear of non-study items. Only the things that belong to your work should live on the surface.
Even in a small apartment, a dedicated corner with a small desk and good lighting works better than a large, undefined space.
This is the single most important foundation of any effective study room setup, and it costs nothing to implement.
2. Use a Large Corkboard for Visual Planning
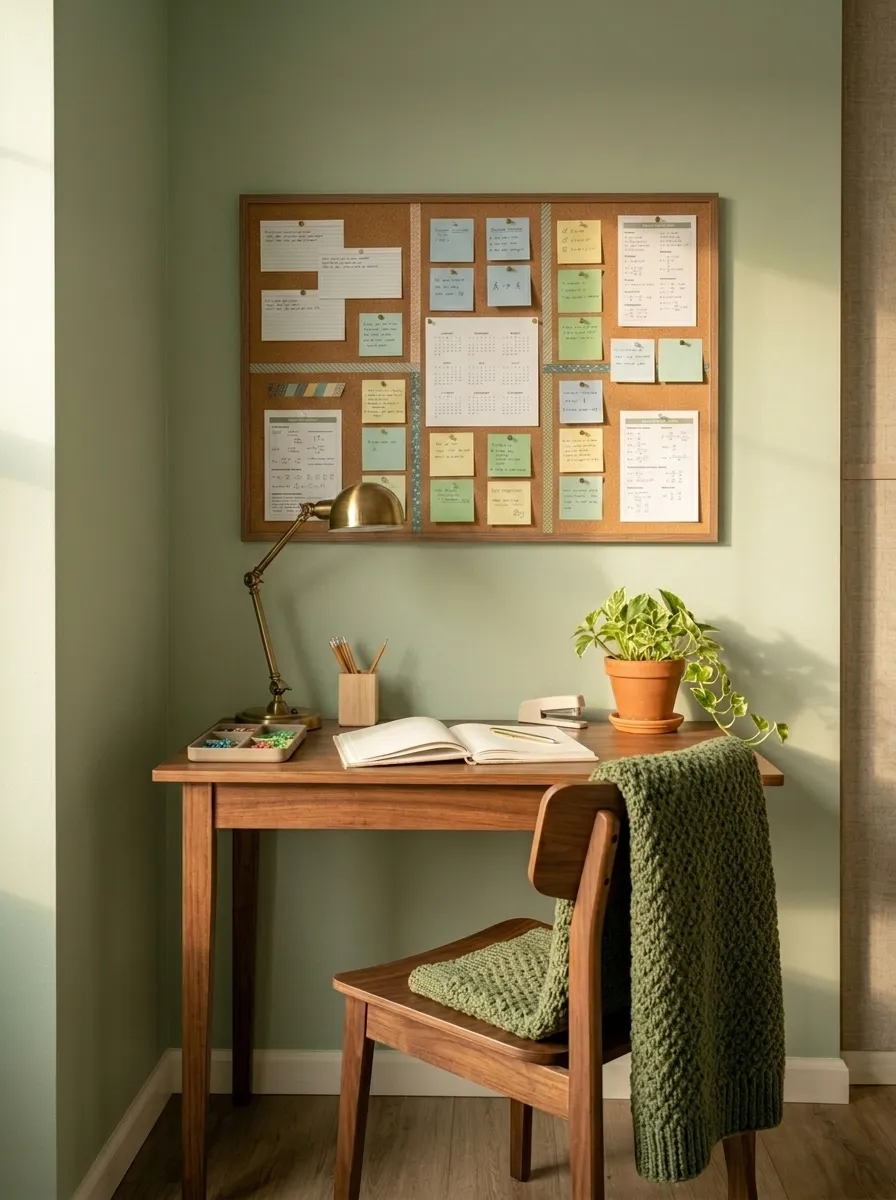
A large corkboard is one of the most useful study room additions you can make.
It gives you a dedicated place to pin deadlines, reference material, goals, and reminders where you can always see them.
Seeing your workload visually reduces the mental load of trying to remember everything. You can clear your head because the information is right in front of you.
Buy a large corkboard and mount it directly above your desk. The bigger the better. A small corkboard fills up quickly and becomes overwhelming.
Use color-coded index cards for different subjects or projects. This makes it easy to scan at a glance.
Add a small monthly calendar in one corner so you always know what is coming up.
Washi tape is great for creating sections or borders on your corkboard without damaging it.
Pin motivational quotes, goal lists, and subject summaries alongside your schedules. Mix practical items with a few personal touches.
You can build your own large corkboard cheaply by buying a roll of cork sheet from a hardware store and mounting it on a cut piece of plywood.
Frame the edges with simple wood trim or washi tape for a finished look.
This one addition makes your study space feel intentional, organized, and deeply functional.
3. Add a Desk Lamp with the Right Color Temperature
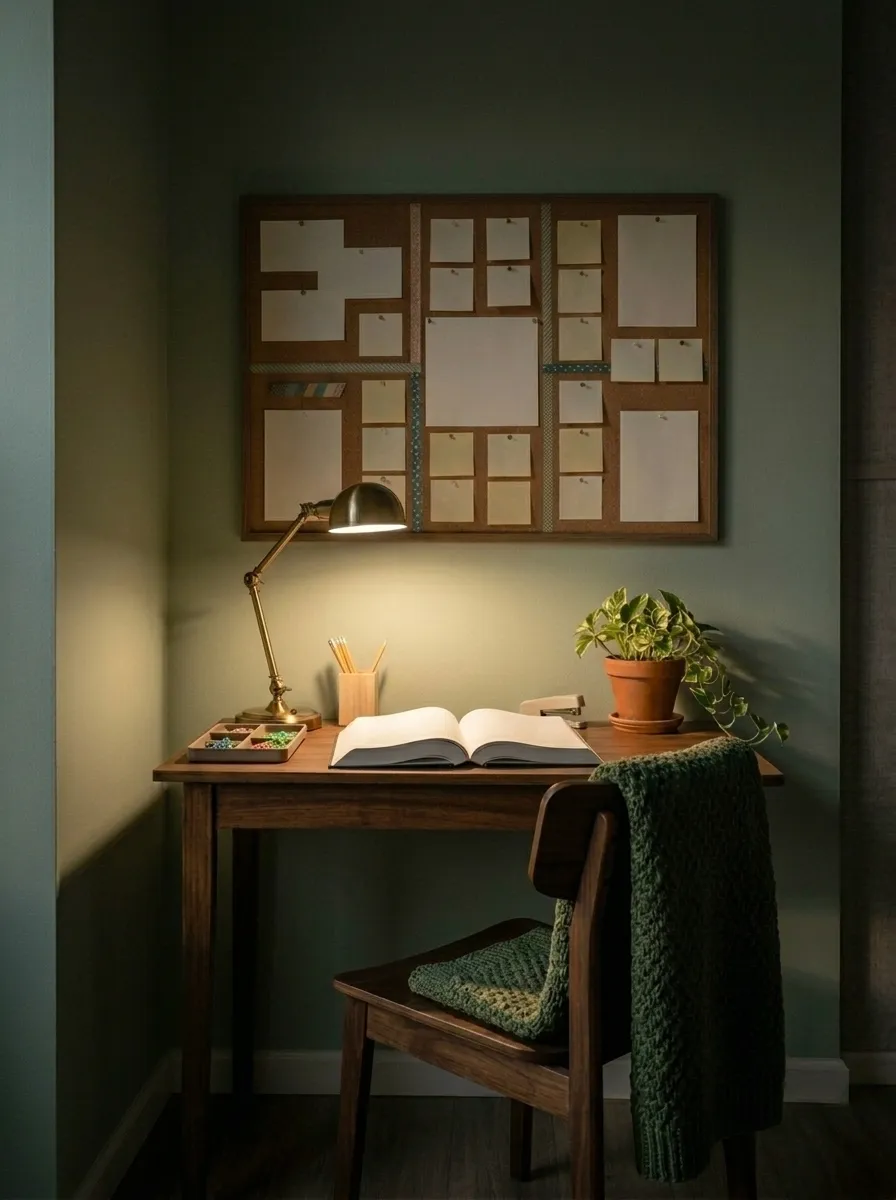
The wrong lighting causes eye strain, headaches, and fatigue.
Poor lighting is one of the most common reasons people struggle to study for long stretches.
For reading and writing, you want a light that is bright enough to clearly illuminate your desk surface without creating glare on the page.
The best color temperature for studying is 4000K to 4500K. This is a neutral white light that is bright enough to keep you alert but not harsh like daylight bulbs.
Position your lamp to the left of your work if you are right-handed, and to the right if you are left-handed. This prevents your writing hand from casting a shadow across the page.
An adjustable arm lamp gives you the most control. You can direct light exactly where you need it.
Look for lamps with a built-in dimmer. Brighter settings for detailed work and reading, lower settings for note review or lighter tasks.
Many great desk lamps are available for under 20 dollars.
Avoid ceiling lights as your only light source. They create overhead shadows on your desk and do not provide enough focused illumination for reading.
Good task lighting is one of the fastest and most affordable ways to make studying more comfortable and sustainable.
4. Organize Supplies in a Pegboard Wall System
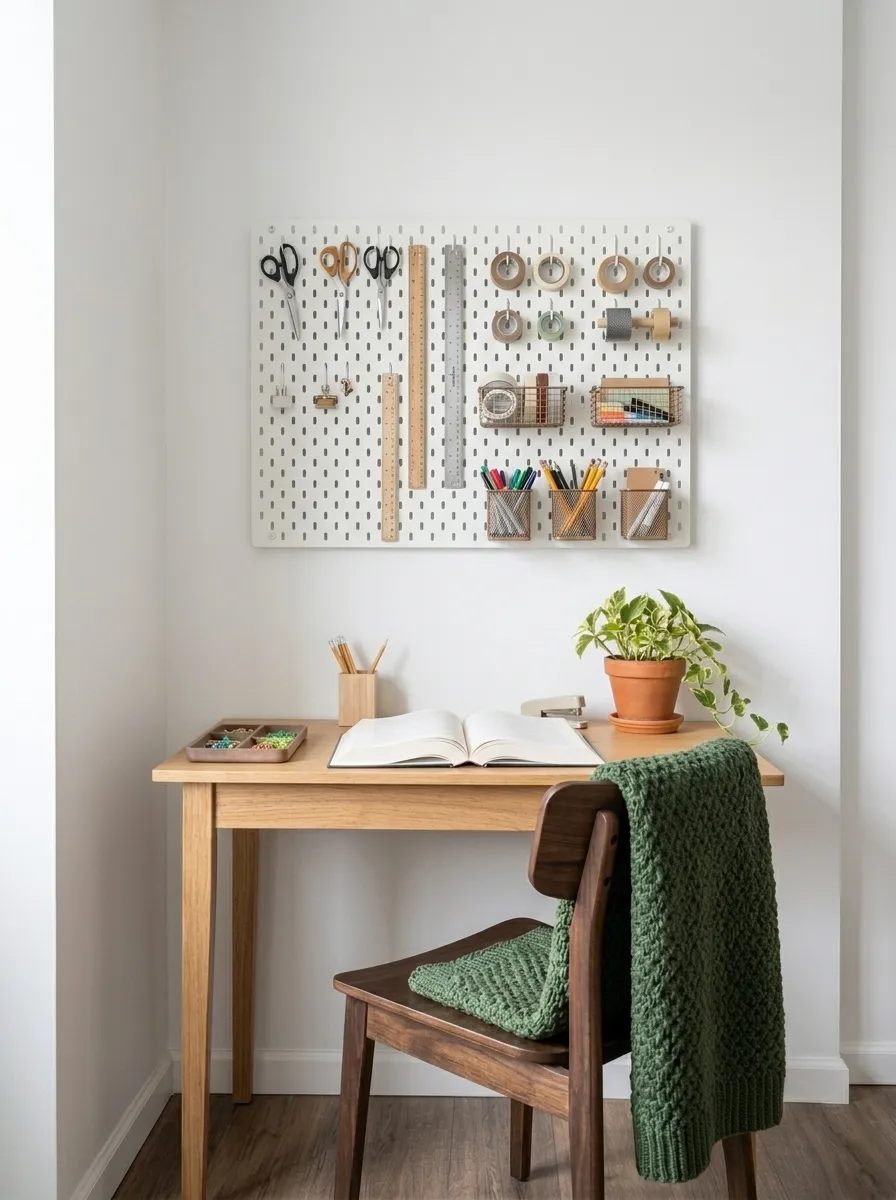
A pegboard turns an empty wall into a fully functional storage and organization system.
Everything has a place. Everything is visible. Nothing clutters your desk surface.
Mount a pegboard on the wall above or beside your desk. Standard pegboards come in white or natural wood and are very affordable at hardware stores.
Use metal hooks and wire baskets to hold scissors, rulers, tape, sticky notes, pens, and markers.
Add small shelves to the pegboard for items like a stapler, a small plant, or a phone stand.
The beauty of pegboards is that the arrangement is completely flexible. You can move hooks and baskets anytime without tools.
Group supplies by category. Writing tools in one section, cutting tools in another, reference materials in a third.
A well-organized pegboard reduces the time you spend searching for supplies. That means less disruption when you are in a flow state.
Paint the pegboard before mounting it. White, sage green, or matte black all look clean and modern above a study desk.
You can cut a standard pegboard sheet to any size you need. A 60 by 90 centimeter board gives you enough space for most desk setups.
This system works beautifully for students of all ages and keeps even the most cluttered study space looking controlled.
5. Paint One Wall in a Focus-Friendly Color
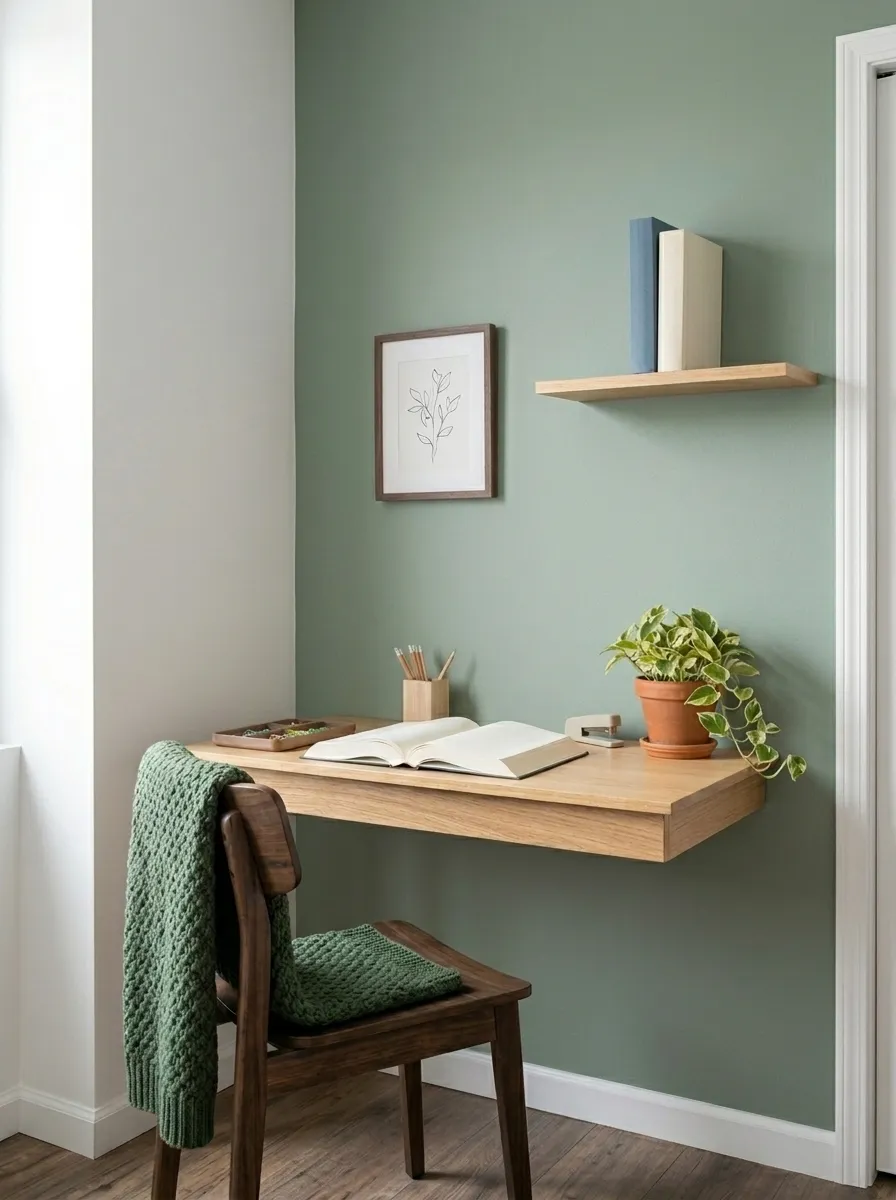
Color affects your mood and concentration more than most people realize.
Bright, saturated colors are energizing but can become distracting over long study sessions. Stark white rooms can feel cold and clinical.
The best approach is to paint one accent wall in a muted, focus-friendly tone.
Muted sage green, soft blue-gray, dusty terracotta, and warm greige are all excellent choices. These colors are calm and visually grounding without being boring.
Research consistently supports cooler tones like blue-green for focus-based tasks. Warmer tones like dusty terracotta create a comfortable, motivating energy.
You do not need to paint the entire room. One wall behind your desk is enough to create a visual anchor for your workspace.
A small can of paint costs very little and transforms the feel of a room completely.
Test a few paint swatches on the wall and live with them for a couple of days before committing. Colors look different in different lighting.
Matte finishes work better than gloss in study rooms. They reduce light reflection and feel more sophisticated.
If you rent and cannot paint, use removable wallpaper or large fabric panels in your chosen color to achieve the same effect.
This is a one-time investment that changes how you feel in your study space every single day.
6. Add Floating Shelves for Accessible Book Storage
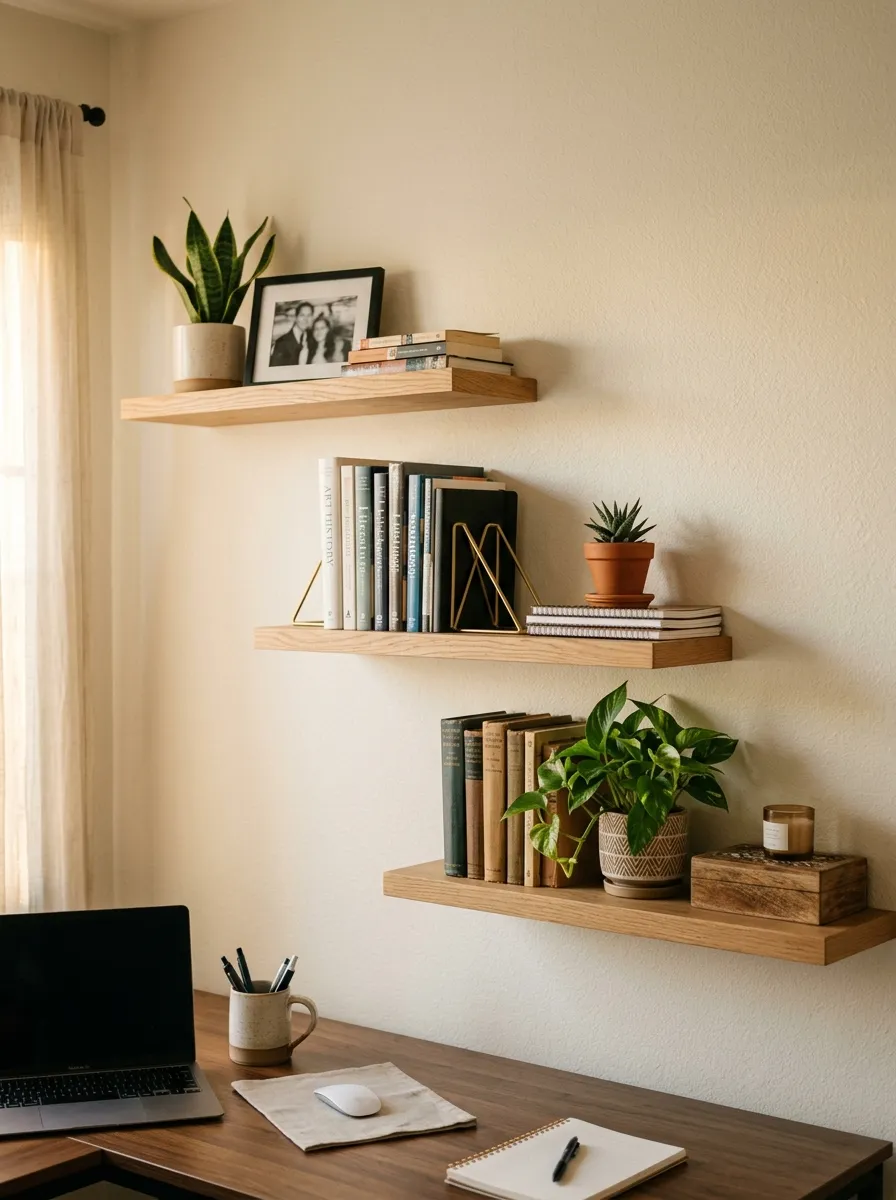
Books and reference materials need to be accessible, not buried in a cabinet or stacked on the floor.
When your books are easy to reach, you are far more likely to actually use them.
Floating shelves are the most space-efficient way to store books in a study room. They go on vertical wall space that would otherwise be unused.
Install three to five shelves at varying heights above or beside your desk. Use the shelves closest to your desk for the books and materials you use most often.
Arrange books upright and grouped by subject. A clear organizational system means you can find what you need in seconds.
Add small decorative elements between book groupings. A small plant, a framed photo, or a decorative object breaks up the visual monotony of rows of books and makes the space feel personal.
Use bookends to keep books upright. Simple metal bookends are affordable and give shelves a clean, finished look.
Floating shelves are available at most home stores and are very straightforward to install with basic hardware.
For a budget-friendly option, use wooden brackets and a plank of timber cut to size. Sand, stain, and mount it yourself for a custom look.
Keeping your study materials at eye level and within arm’s reach reduces friction between you and the work.
7. Create a Distraction-Free Desk Surface
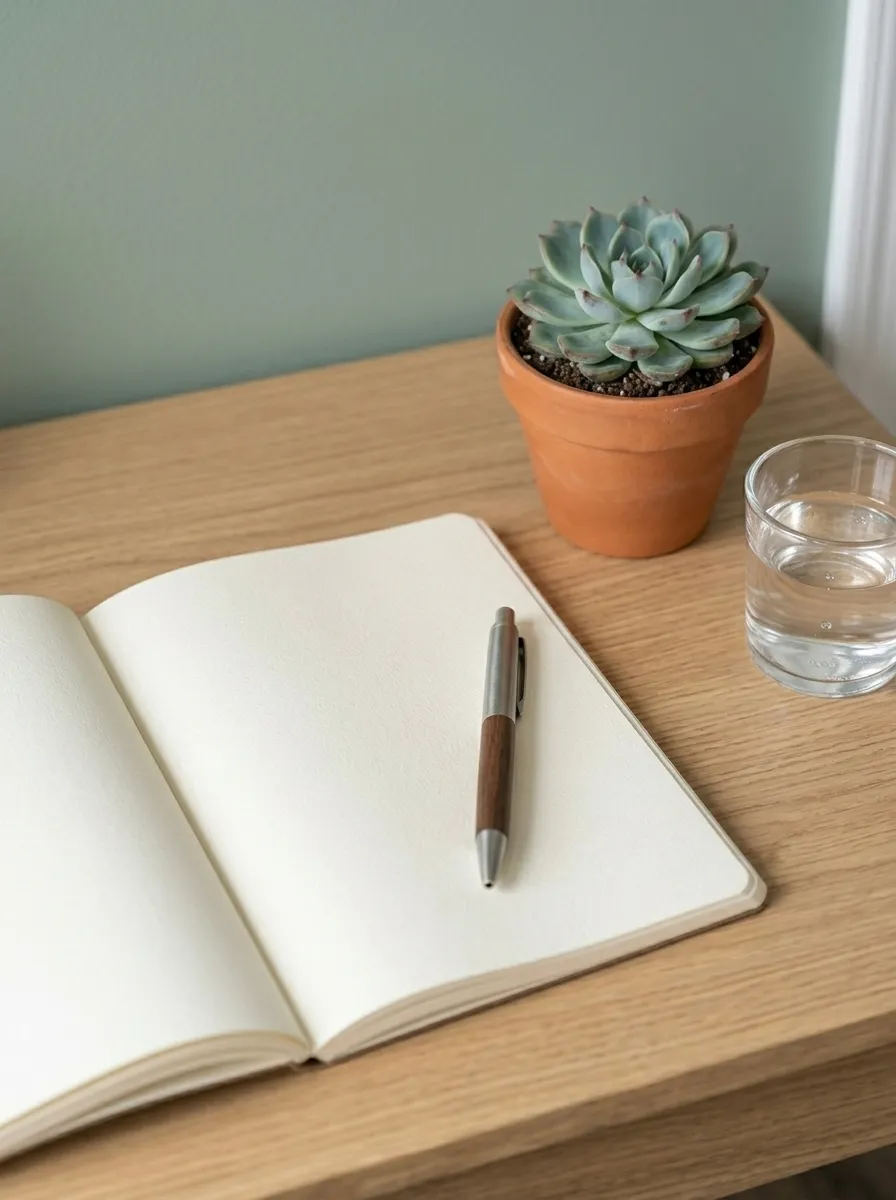
Your desk surface sends a signal to your brain.
A cluttered desk creates visual noise that competes with your focus before you have even started working.
A clear, intentional desk surface tells your brain it is time to concentrate.
The goal is to keep only the items you need for your current task on the desk surface. Everything else should have a home somewhere else, in a drawer, on a shelf, or in a storage box.
Use a desk organizer or pencil cup for writing tools. This keeps them contained and off the flat surface.
A desk mat or blotter defines the active work area and makes your desk look intentional and styled.
Remove phone chargers, food, excess paper, and random objects from your desk before sitting down to study.
Spend two minutes at the end of each study session resetting your desk to its clean baseline. This makes it much easier to start the next session.
A clear desk does not mean a cold or bare desk. One small plant, a lamp, and a cup for pens are all you need for a functional and visually pleasant surface.
Think of your desk surface as the stage where your focus happens. Keep it set and ready.
This habit alone can noticeably reduce how long it takes you to get into a focused study state.
8. Use a Physical Planner or Wall Calendar
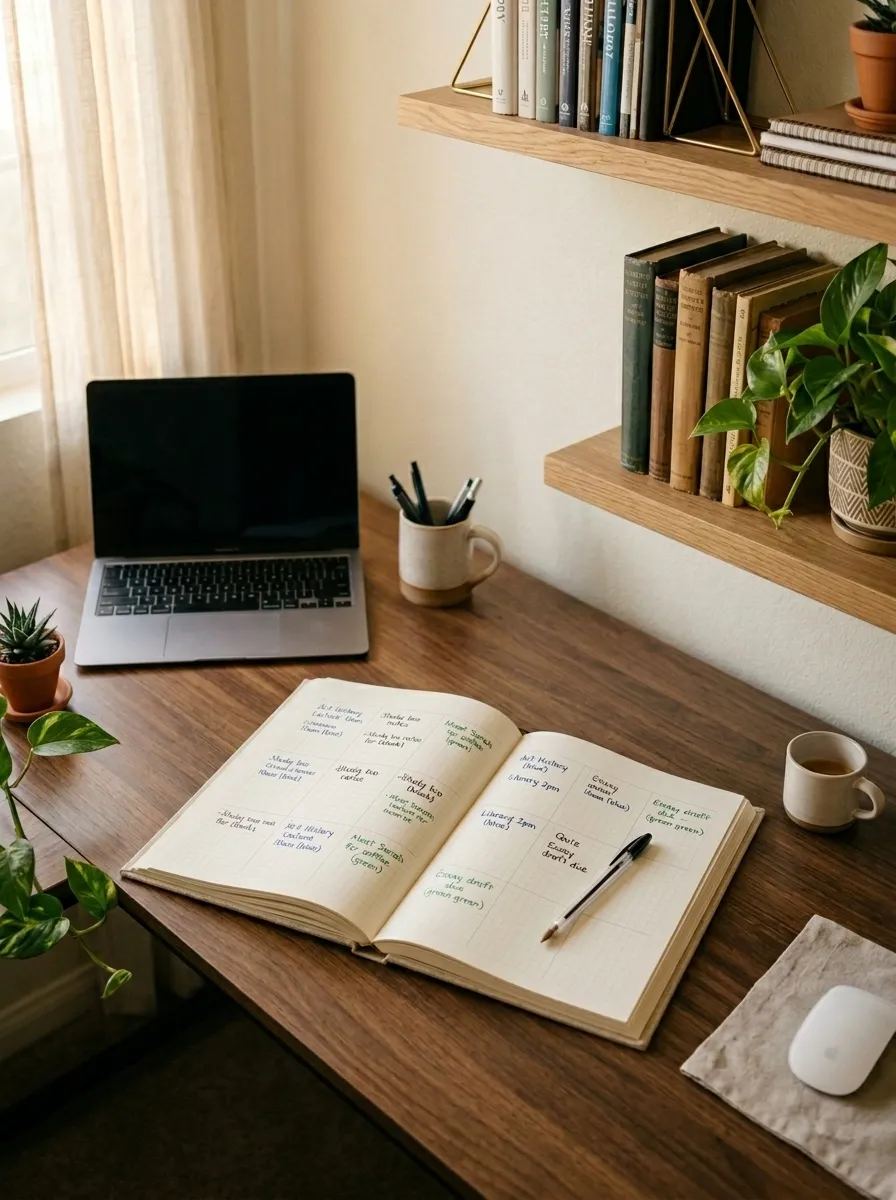
Digital calendars are useful, but a physical planner on your desk keeps your schedule constantly visible.
When your deadlines and tasks are written down and in front of you, you are less likely to forget things and more likely to prioritize correctly.
Keep a weekly or monthly planner open on your desk at all times during study sessions.
Write down every deadline, exam date, assignment, and reading target at the start of each week. Then break those into daily tasks.
The act of physically writing down tasks reinforces memory and creates a stronger sense of commitment than typing.
A wall calendar above your desk gives you a month-at-a-glance view that helps with long-term planning.
Use color coding to separate different subjects or types of tasks. Different colored pens or highlighters make the calendar visually scannable.
Check your planner at the start and end of every study session. This keeps you oriented and prevents the anxiety of wondering what you should be doing.
Affordable planners are widely available, and many are beautifully designed. Look for ones with weekly spreads and space for daily priorities.
You can also print free planner templates and keep them in a simple binder for a zero-cost option.
This small physical habit dramatically reduces the mental energy spent on task management, leaving more capacity for actual learning.
9. Layer Warm and Task Lighting Together
Most study rooms rely on a single overhead light source.
This is one of the most common and easily fixed lighting mistakes.
Overhead lights alone create flat, shadowless illumination that feels institutional and uninspiring. They also do not provide enough focused light on your actual work surface.
The solution is layered lighting.
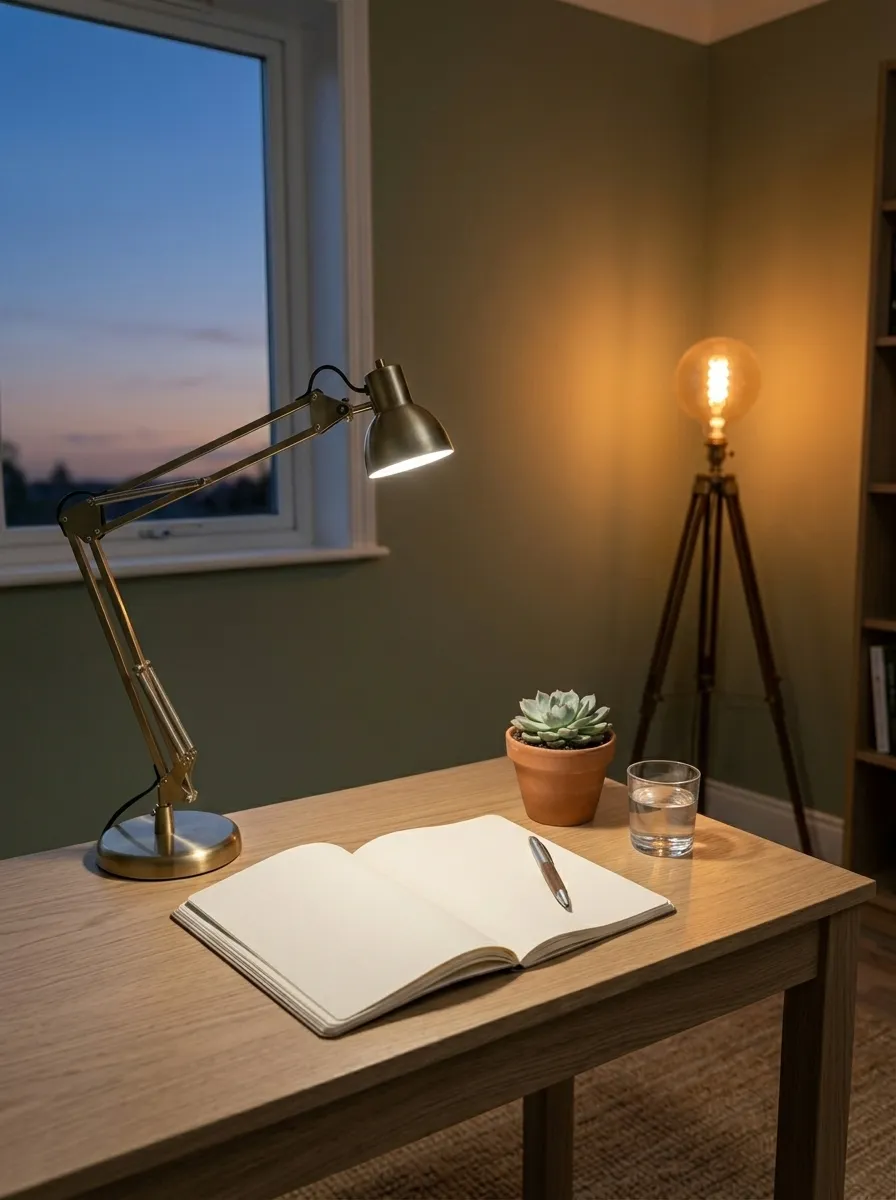
Start with a good task lamp directly on your desk for focused illumination.
Then add a floor lamp or wall sconce with a warm bulb in the corner of the room. This ambient light fills the space with warmth and reduces the harsh contrast between your bright desk and the dark surrounding room.
The contrast between a very bright desk and a dark room causes eye strain over long sessions. Ambient light in the background reduces this significantly.
Choose warm-toned ambient lights at around 2700K and a cooler, brighter task light at 4000K. The difference signals focus at the desk and rest in the rest of the room.
Smart bulbs in both fixtures make it easy to adjust both lights from a single app or voice command.
This layered approach makes your study room feel far more comfortable to spend time in and far less like a harsh institutional space.
Better light quality leads directly to longer, more comfortable study sessions.
10. Incorporate Indoor Plants for a Calming Presence
Plants in a study room do more than look nice.
Research shows that being near plants reduces stress, lowers heart rate, and improves concentration during sustained mental tasks.
You do not need many plants. Even one or two well-placed plants make a measurable difference to how comfortable and pleasant a study space feels.
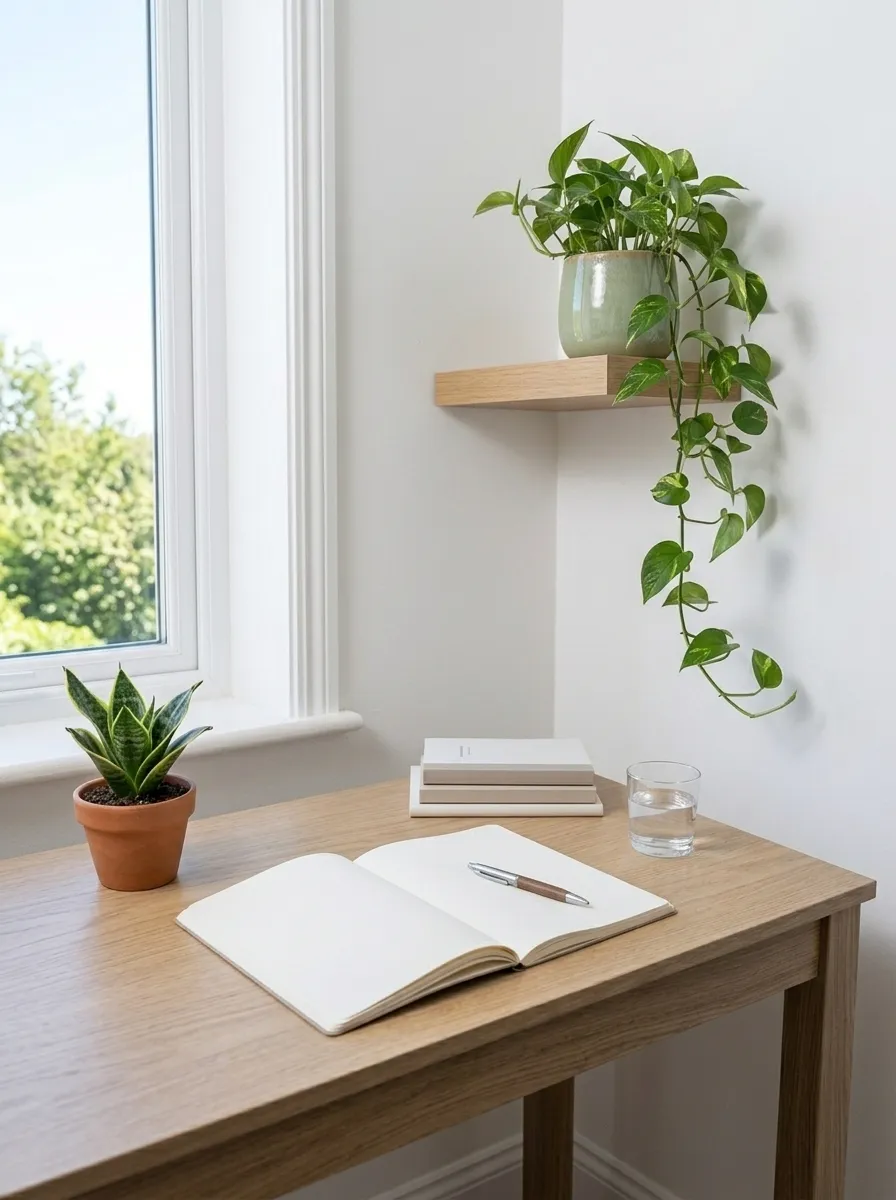
Choose low-maintenance varieties that thrive in indoor conditions without constant attention. Snake plants, pothos, ZZ plants, and small succulents are all excellent choices.
A small plant on your desk adds life to your immediate workspace. A larger plant on a shelf or floor nearby adds visual depth to the room.
Use simple ceramic or terracotta pots in neutral colors. These look clean and complement most desk setups.
Water your plants on a consistent schedule. Neglected plants become a source of visual guilt rather than calm.
If your study room has limited natural light, choose plants specifically rated for low-light conditions. Pothos and ZZ plants both do well in offices and rooms with indirect light.
Hanging a small trailing plant on a wall-mounted hook adds greenery without using any desk or floor space.
The investment is minimal. A small succulent or pothos cutting costs very little but contributes to a study environment that feels genuinely pleasant to be in.
11. Set Up a Dedicated Charging Station Off the Desk
Your phone is the single biggest threat to deep study focus.
Keeping it on your desk means notifications, screen glances, and the constant temptation to pick it up between tasks.
Moving your phone completely off the desk during study sessions is one of the most effective focus strategies available.
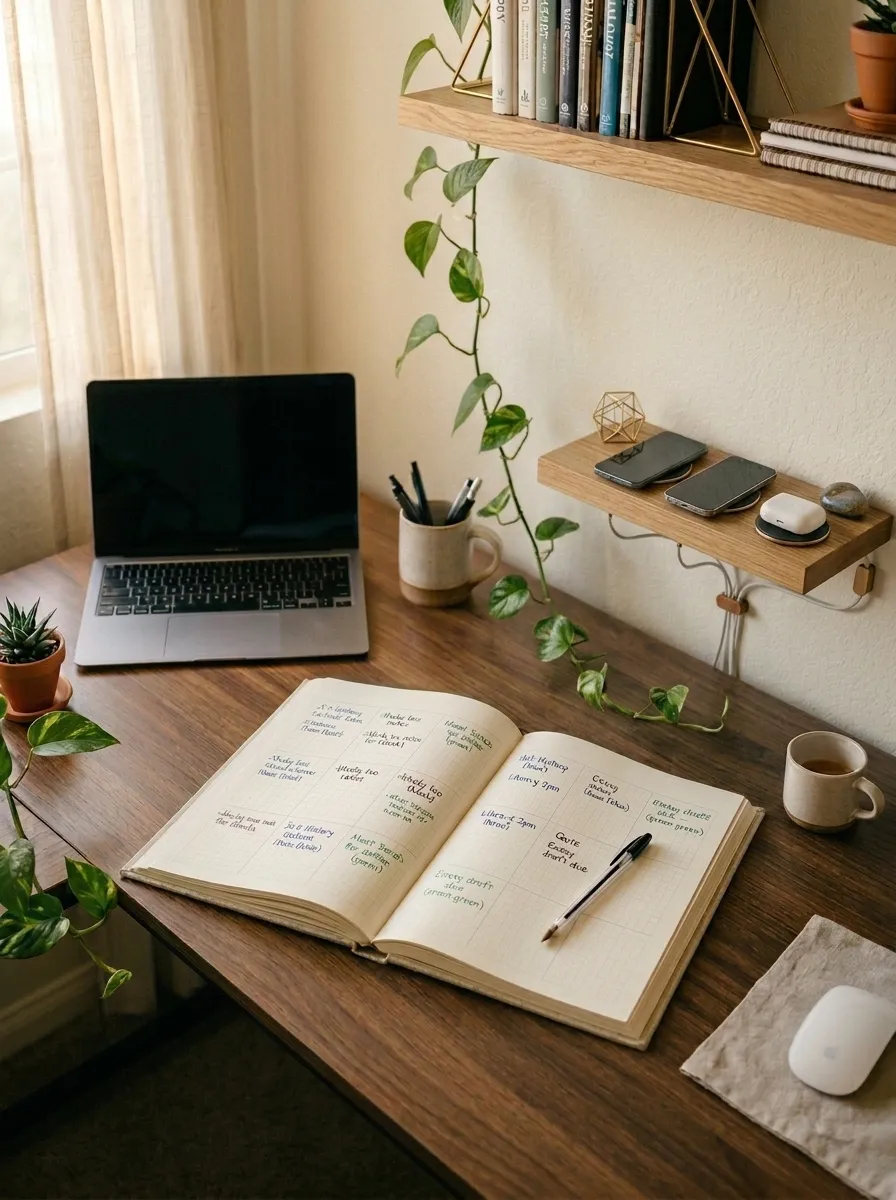
Create a dedicated charging station on a different surface in the room, or even in a different room entirely.
A small wall-mounted shelf with a cable organizer works perfectly. Mount it near a socket on the opposite wall from your desk.
When you sit down to study, plug your phone in at the station and leave it there.
If you use your phone for music or white noise, place it face-down and on silent at the charging station rather than at your desk.
Out of sight genuinely means out of mind. The physical distance creates just enough friction to break the habit of compulsive checking.
Label the charging spots for different devices if you share the space. This keeps the station organized and avoids cable tangles.
A small charging station shelf costs very little to buy or build from a piece of timber and a bracket.
This one spatial change can dramatically extend how long you can study without interruption.
12. Use Noise-Canceling Curtains for Sound Control
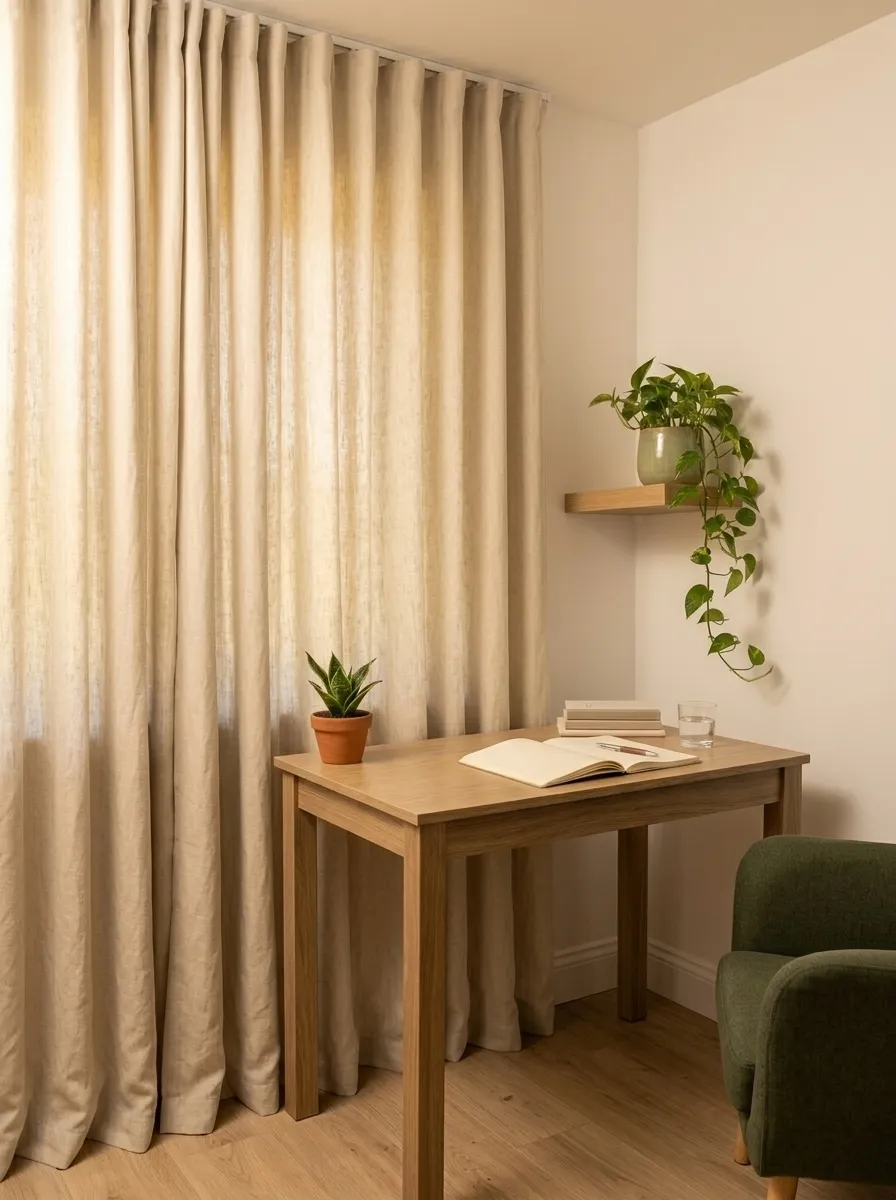
Noise is one of the most disruptive elements in any study environment.
Traffic, family members, neighbors, and background conversation all interrupt concentration and force your brain to restart its focus cycle repeatedly.
Heavy curtains or blackout curtains with thermal lining provide significant sound dampening. They are not completely soundproof, but they reduce the intrusion of external noise noticeably.
Hang curtains from ceiling height to floor for maximum coverage. The more fabric there is, the more sound it absorbs.
Choose thick linen, velvet, or thermal-lined curtains in calm, neutral tones. These fabrics absorb sound rather than reflecting it back into the room.
If external noise is a major problem, add a second layer with a sheer curtain underneath the main curtain for additional dampening.
A white noise machine or a lo-fi study playlist played quietly through a speaker also masks distracting sounds without adding further distraction.
Pair noise-reducing curtains with a closed door and a door draft stopper to further reduce sound infiltration.
You can find affordable curtain panels at discount home stores. Ready-made panels in standard sizes are far cheaper than custom options.
Quieter environments lead to deeper focus and longer study sessions. Managing sound in your study room is as important as managing visual distractions.
13. Install Under-Desk Cable Management
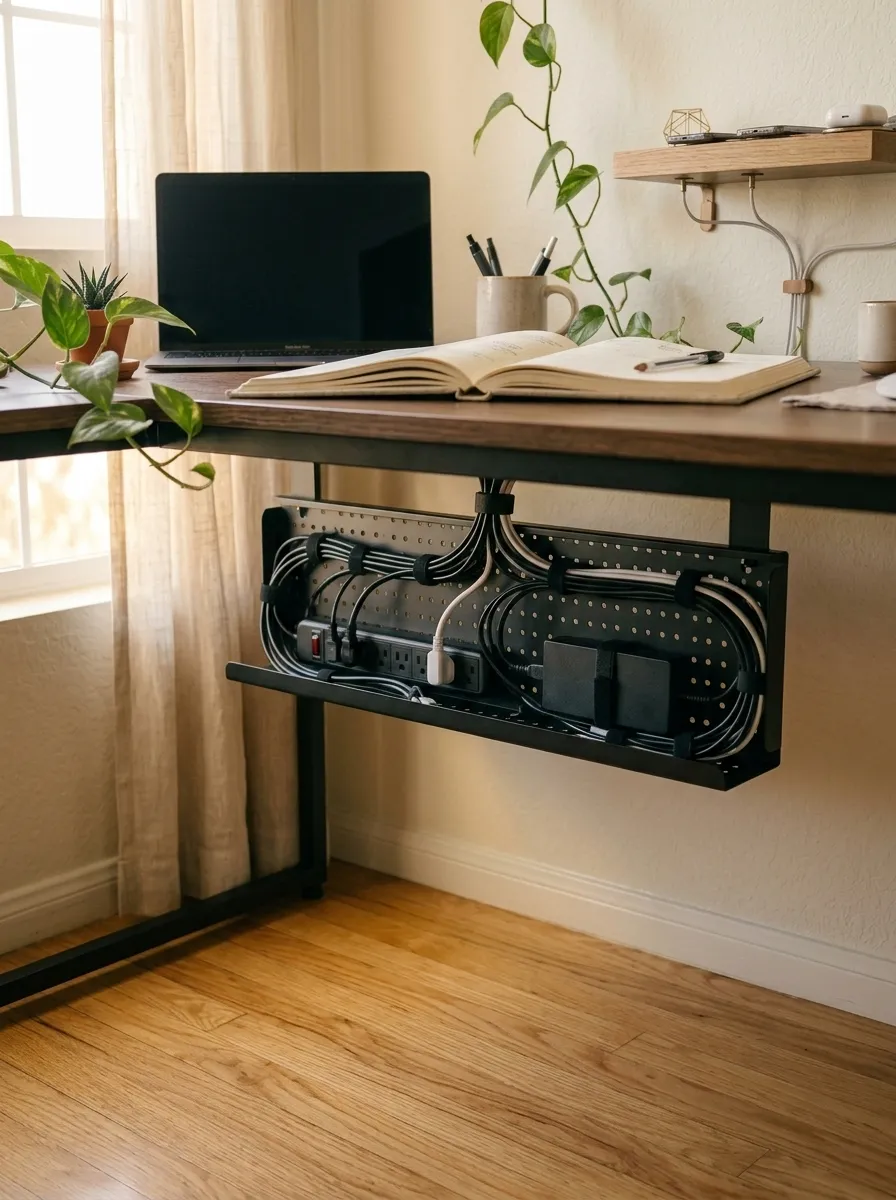
Cable clutter is visually distracting and mentally draining even when you are not consciously looking at it.
Loose power cables, charger cords, and headphone wires tangled around your desk legs create a low-level sense of disorder that affects how you feel about the space.
A simple cable management tray mounted under the desk solves this completely.
These trays mount with screws or adhesive brackets to the underside of the desk. You place a power strip and all the cables inside the tray, then route each cable neatly up to where it needs to go on the desk surface.
Use cable clips along the edge of the desk or down a desk leg to guide cables cleanly from the tray to your monitor, lamp, and charger.
A velcro cable wrap or spiral wrap can bundle multiple cables together into a single clean bundle.
Under-desk cable trays are very affordable. Many come as complete kits with everything you need to install them.
Label each cable at both ends with small cable tags. This saves time when you need to swap a device or troubleshoot.
The transformation from a cable-tangled desk to a clean, managed one takes about 30 minutes and costs very little.
A visually tidy desk environment makes it easier to settle into study mode and significantly reduces the low-grade stress of working in a disordered space.
14. Add a Whiteboard for Active Learning
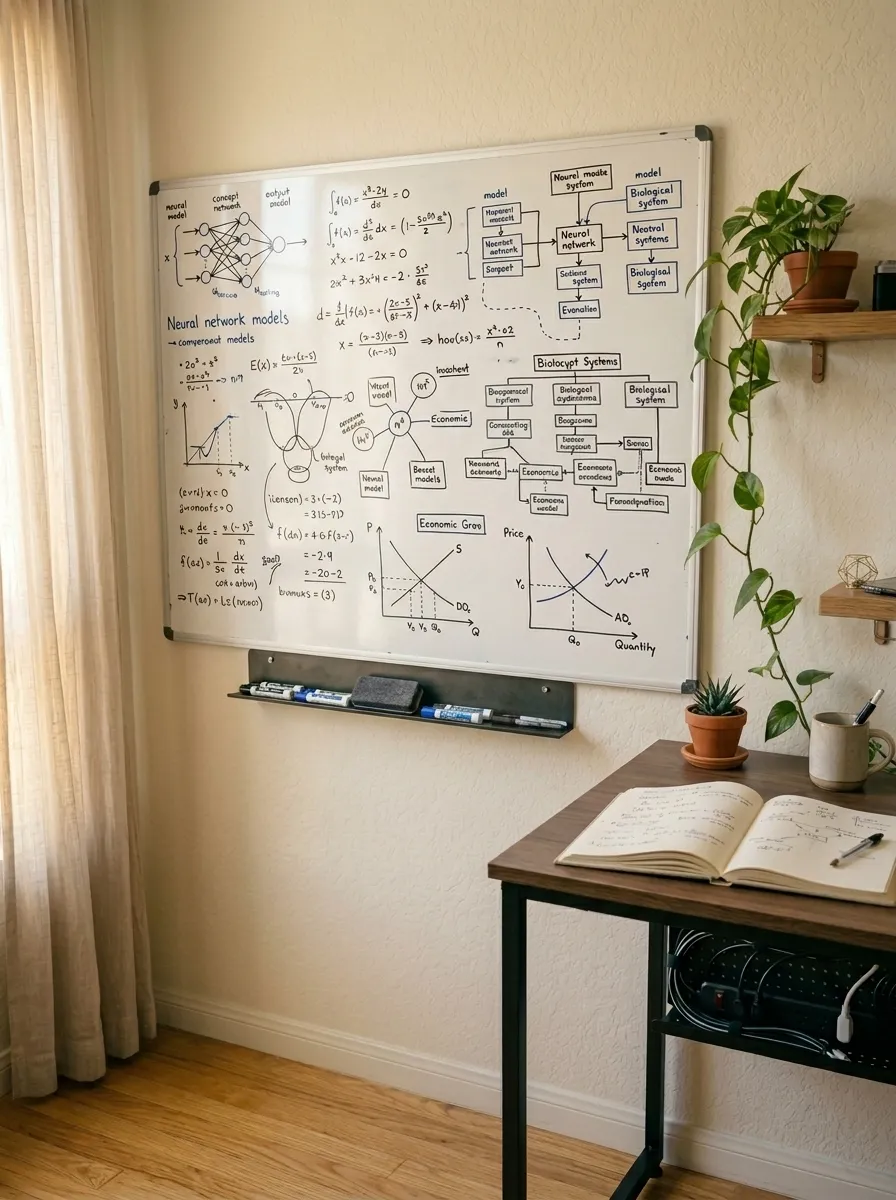
Writing on a whiteboard is fundamentally different from writing in a notebook.
The large surface encourages big picture thinking, concept mapping, and working through complex problems visually.
Mount a whiteboard on the wall beside or above your desk. The larger the board, the more useful it is.
Use it to draw concept maps, solve equations, plan essay structures, or summarize a chapter after reading it.
The act of writing large and spatially arranges information in a way that helps many people understand and remember it better than reading alone.
Use different colored markers to separate ideas. Color-coding on a whiteboard makes connections between concepts visually clear.
For a budget option, buy whiteboard contact paper and apply it to a section of wall. This creates a fully functional whiteboard surface for a fraction of the price of a framed board.
A small whiteboard on a desktop easel also works for daily task lists and quick notes.
Clean the board after each session. A clean whiteboard at the start of a study session signals a fresh start.
Whiteboards are especially useful for visual learners, science and math students, and anyone working through complex, interconnected material.
This is one of the most actively educational decor additions you can make to a study room.
15. Create a Motivational Vision Board
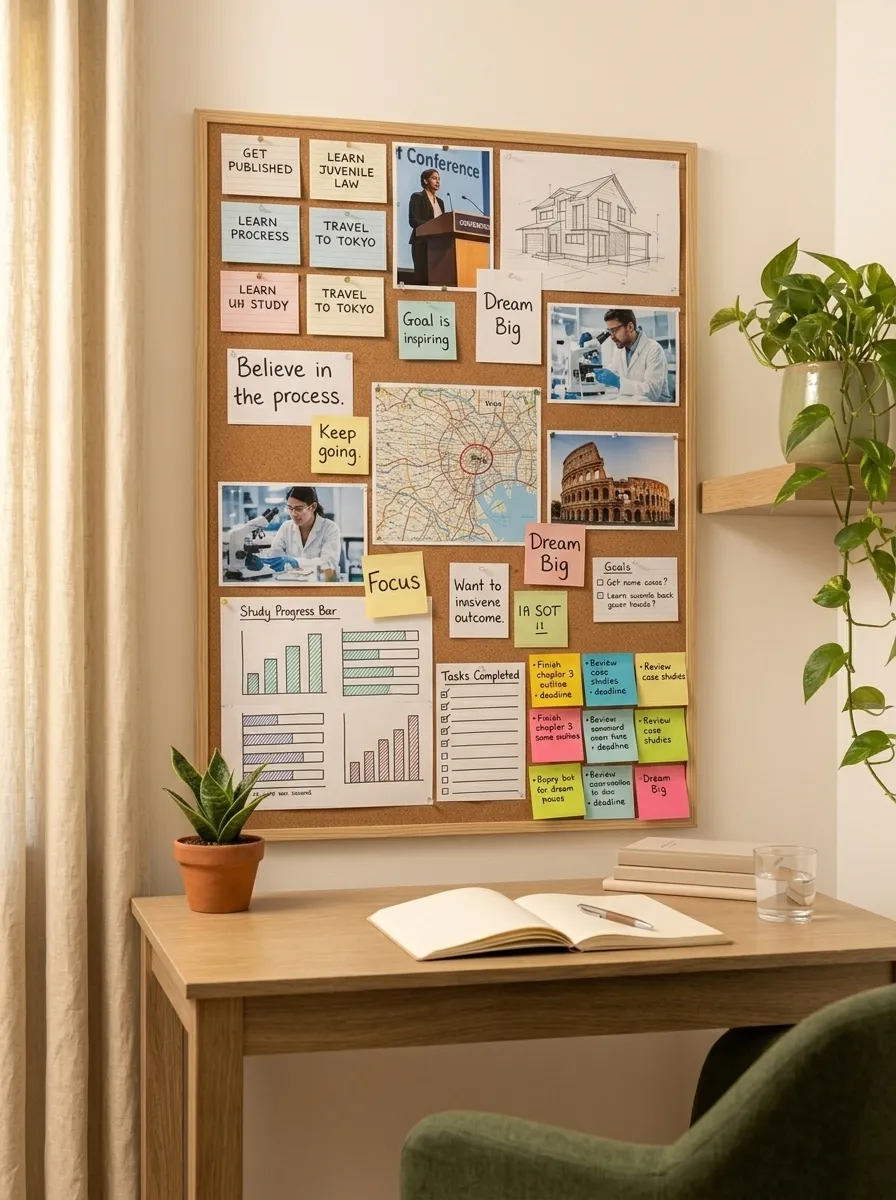
A vision board in a study room serves a practical function beyond simple motivation.
It keeps your long-term goals visible during the short-term grind of daily studying.
When you can see why you are doing the work, it is easier to keep doing it.
Create a vision board on a section of corkboard, a framed canvas, or even directly on a wall section using removable tape and hooks.
Include images that represent your goals. University campuses, career environments, travel destinations, or lifestyle images that reflect what you are working toward.
Add handwritten goal statements in clear, specific language. Not vague phrases but concrete targets.
Include your academic goals alongside personal goals. A study room vision board should feel like a full picture of why the work matters.
Update the board regularly. Remove goals you have achieved and add new ones. A static vision board loses its power over time.
Place the board directly in your line of sight from your study chair so you see it naturally while working.
This is completely free to make using printed images, paper, and whatever board or wall space you have available.
A well-made vision board does not feel like decoration. It feels like a daily reminder of the direction you are heading, and that is one of the most powerful things a study room can contain.
16. Use a Timer System for Structured Study Blocks
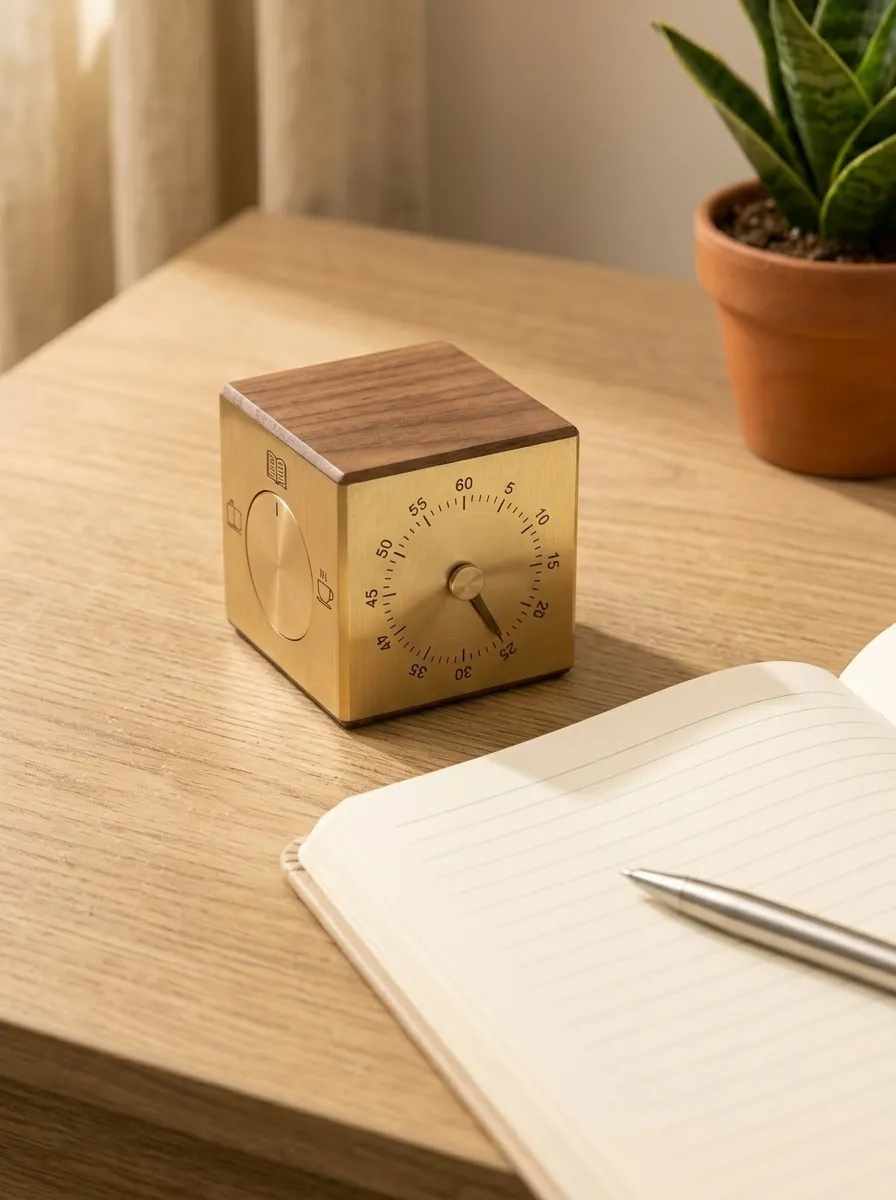
The way you structure your study time matters as much as your physical environment.
A visible timer on your desk creates a time boundary that makes it easier to focus fully within a set period.
The Pomodoro Technique is the most popular structured study method. Study for 25 minutes, then take a 5-minute break. After four cycles, take a longer 20-minute break.
A physical cube timer is more effective than a phone timer because it keeps your phone away from the desk and adds a physical, tactile element to the practice.
Cube timers are available for very little cost and sit neatly on a desk without taking up much space.
Set the timer, turn it face-down when you want to stop watching it, and work until it rings.
Knowing the session has a defined end point removes the feeling that the work is endless. This makes it easier to maintain concentration within each block.
Track your pomodoros on your planner or a sticky note. Seeing how many focused sessions you complete in a day builds a satisfying sense of progress.
Customize the session length to match your attention span. Some people prefer 45-minute blocks. Others prefer 20 minutes. Start shorter and build up over time.
A timer transforms your desk from a place you sit into a place where structured, intentional work happens.
17. Arrange Your Desk to Face the Right Direction
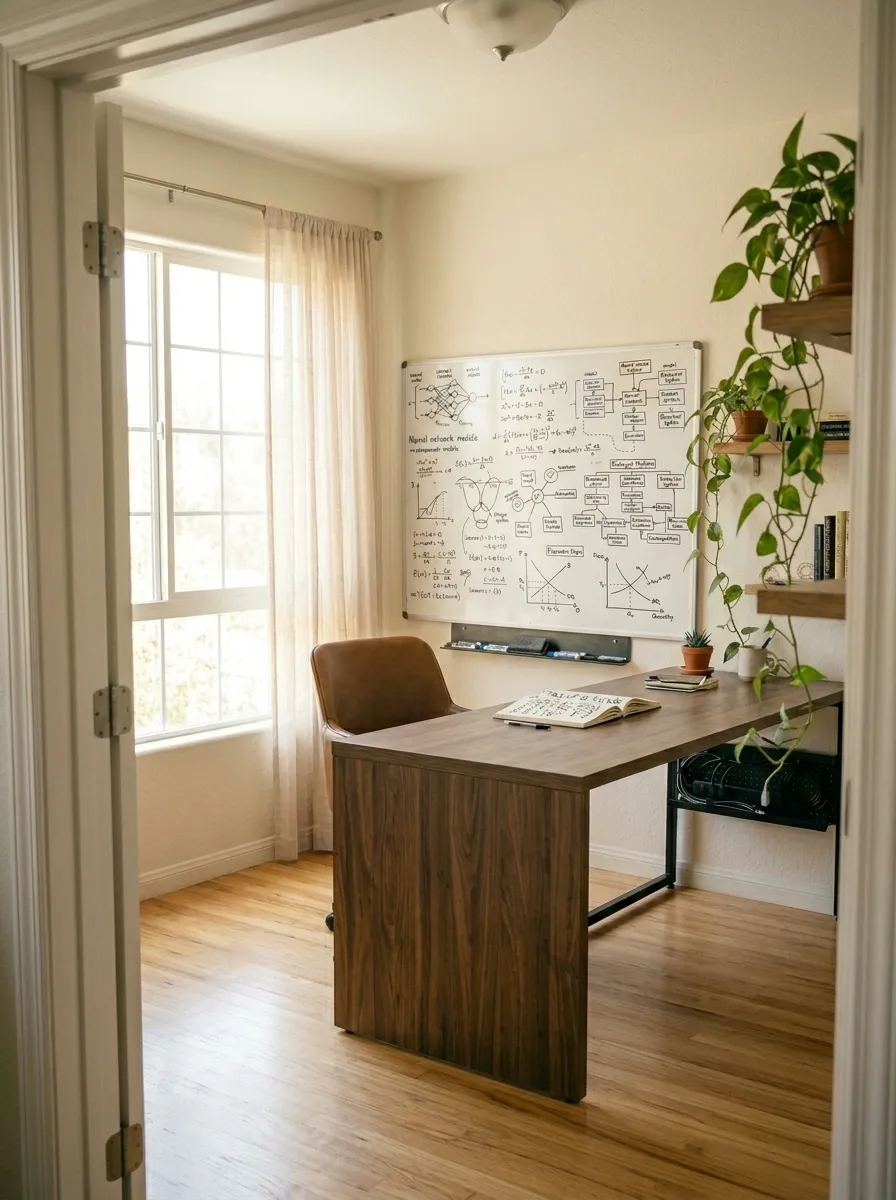
The direction your desk faces affects your focus more than most people expect.
Facing a wall can feel limiting. Facing a window with a distracting street view outside is equally problematic.
The best desk position in most rooms is perpendicular to a window. This means the window is to your left or right rather than directly in front or behind you.
This position gives you good natural light on your work surface without glare on your screen or constant visual temptation to look outside.
Facing a window with a calm, pleasant view like a garden or a quiet street works well if the view does not distract you.
Facing a wall can work if you fill the wall with a corkboard, shelving, or your vision board. You need something purposeful to look at, not a bare surface.
Avoid sitting with your back to the room if you share a space. This creates a sense of vulnerability that can subtly affect concentration.
Experiment with different positions before committing to one. Spend a week with your desk in one position and note how your focus feels.
In a small room, the options may be limited. In that case, prioritize natural light access above other positioning factors.
Desk positioning costs nothing to change and can dramatically improve how comfortable and focused your study sessions feel.
18. Invest in an Ergonomic Chair or Seat Cushion
You cannot study effectively if you are uncomfortable.
Back pain, shoulder tension, and poor posture make it very hard to concentrate for more than 30 minutes at a time.
A good chair is one of the most valuable investments you can make in your study space.
An ergonomic chair with adjustable height and lumbar support allows you to sit for extended periods without pain.
If a full ergonomic chair is outside your budget, a quality lumbar support cushion or seat pad can transform an ordinary chair significantly. These are available for a fraction of the cost of a new chair.
Set your chair height so your feet rest flat on the floor and your forearms are parallel to the desk surface.
Add a footrest if your feet do not reach the floor comfortably. Even a stack of books or a small wooden step works as a temporary solution.
Sit back in the chair so your lower back is supported by the backrest. Leaning forward over a desk for hours causes the shoulder and neck pain many students experience.
Take standing or walking breaks every 45 to 60 minutes regardless of how good your chair is. Movement is part of physical comfort during long study sessions.
Comfort is not a luxury in a study space. Physical discomfort is one of the fastest routes to giving up on a study session early.
19. Create a Cozy Reading Chair in the Corner
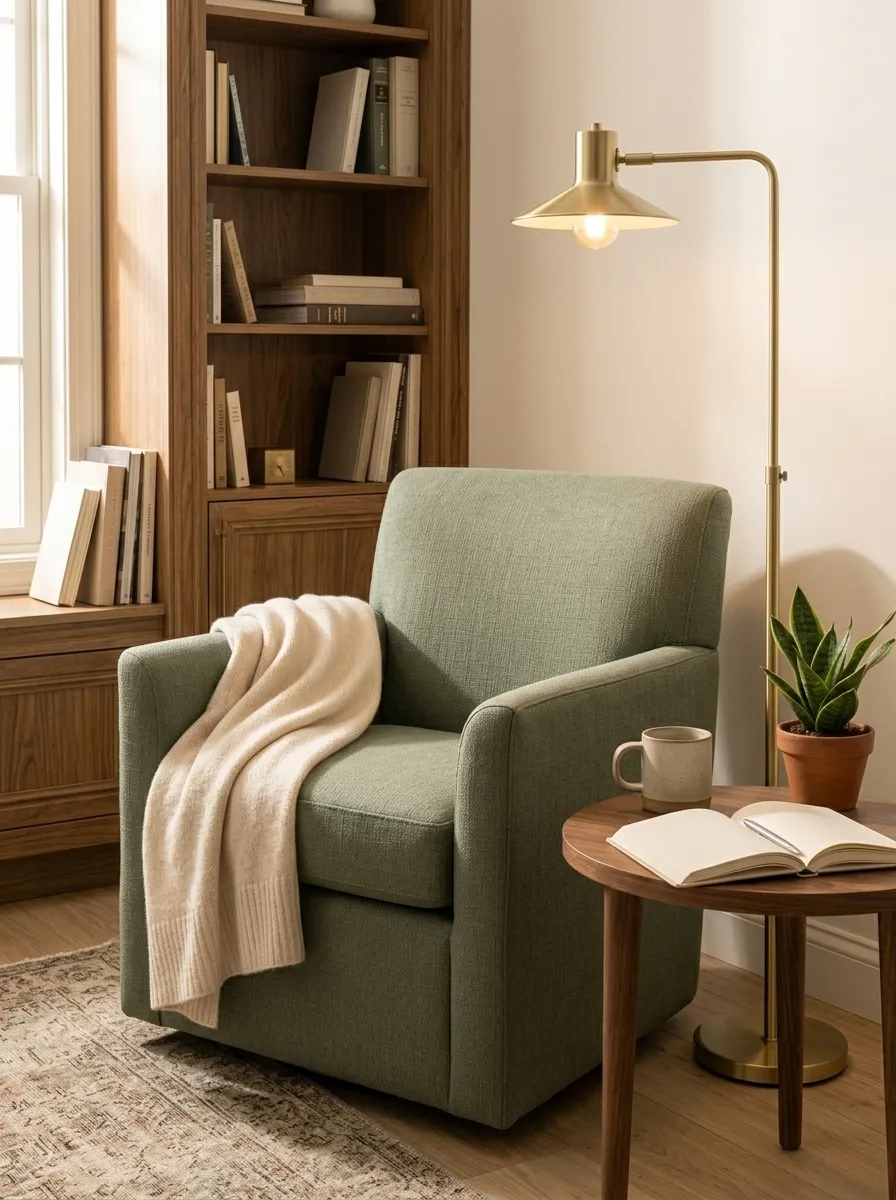
Not all studying happens at a desk.
Reading long chapters, reviewing notes, and thinking through ideas often happen more comfortably in a chair.
Adding a comfortable reading chair to your study room creates a second work zone that serves a different type of studying.
Choose a chair with arm support and a high enough back to support your neck. A firm but comfortable seat is better than a very soft one for reading posture.
Position the chair beside a floor lamp for good task lighting. The same rules apply as at your desk: warm ambient light from behind and brighter light directed at what you are reading.
A small side table next to the chair gives you a place for water, tea, sticky notes, or your planner.
Add a soft throw blanket and a cushion to make the chair inviting without being so comfortable it puts you to sleep.
This reading zone works best when it is positioned slightly away from the main desk. The physical separation helps your brain associate different types of tasks with different parts of the room.
In a small room, even a small accent chair squeezed into a corner works perfectly for this purpose.
This addition makes your study room feel like a place you genuinely want to be in, which is one of the most effective ways to study more consistently.
20. Organize with Labeled Storage Boxes
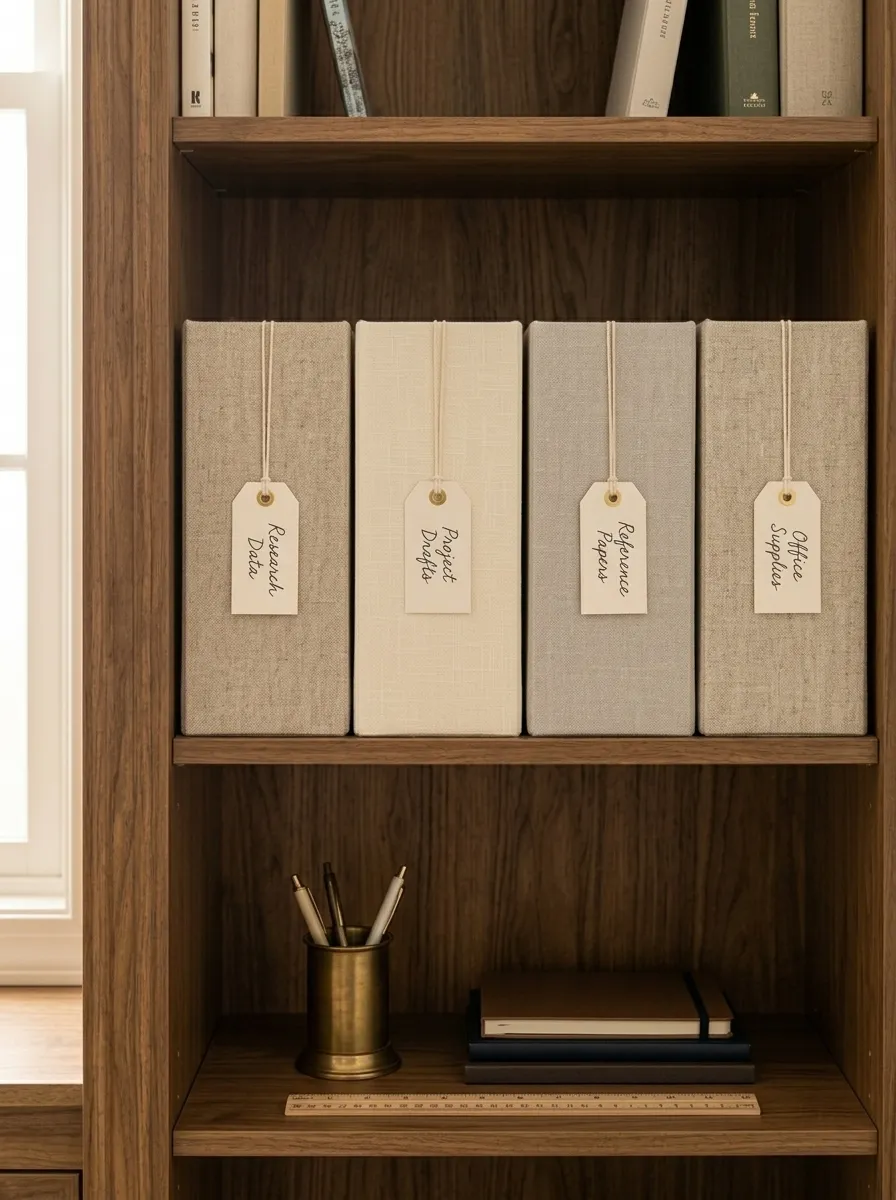
Paper piles, loose notebooks, old exam papers, and random supplies create visual clutter that makes a study room feel chaotic.
Labeled storage boxes give every category of item a home.
When everything has a designated place, you spend zero time searching for things and more time actually studying.
Use matching fabric or cardboard storage boxes on shelves for a clean, cohesive look. Matching boxes make even a budget shelf look organized and intentional.
Label each box clearly. Use a label maker, handwritten tags, or printed stickers depending on your preference.
Create categories that match how you actually organize your work. Subject-based boxes, project-based boxes, or type-based boxes like stationery, textbooks, and printed notes.
Archive old material in clearly labeled boxes stored lower or at the back of a shelf. Keep current materials in boxes at eye level and within easy reach.
At the end of each semester or academic unit, go through the boxes and remove what is no longer needed. This prevents them from overflowing.
Affordable fabric boxes from discount stores work perfectly. Look for ones in neutral colors like grey, cream, or natural linen.
This system is deeply satisfying to set up and maintains itself easily with a small amount of ongoing habit.
An organized storage system is the invisible infrastructure that makes a study room actually function as a productive space day after day.
21. Add a Small Diffuser for Focused Scent
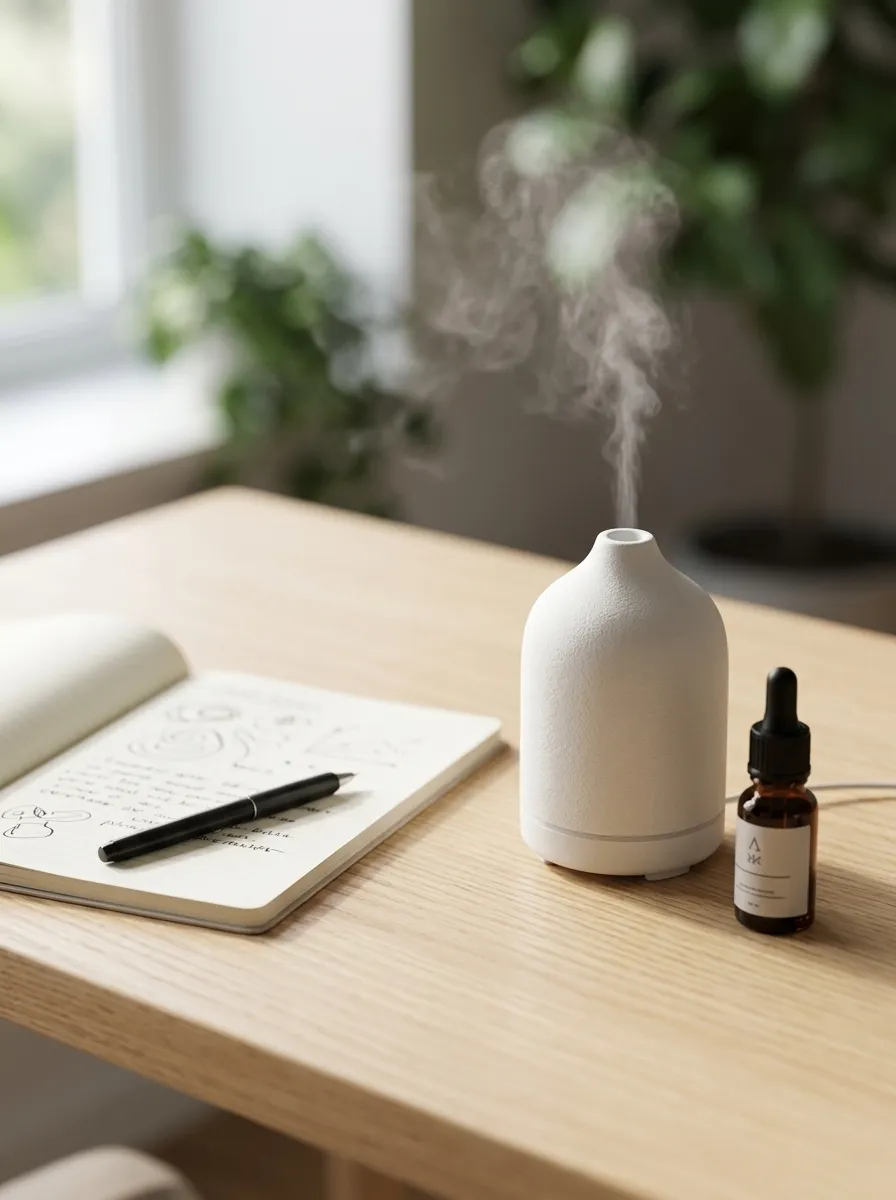
Scent is one of the fastest and most underestimated tools for influencing your mental state.
Certain aromas are associated with improved alertness, memory, and concentration.
Rosemary, peppermint, lemon, and eucalyptus are all linked to improved cognitive performance and alertness. These are ideal for study sessions.
Lavender and chamomile are calming scents better suited to stress reduction between study sessions than during active focus work.
A small ultrasonic diffuser on your desk adds scent without smoke or open flame. Add a few drops of essential oil and water to run it during study sessions.
Choose a ceramic or minimalist design diffuser that fits the aesthetic of your study space without becoming a visual distraction.
Essential oils are affordable and a small bottle lasts a long time. A few drops per session is all you need.
Consistency matters. Use the same scent every time you sit down to study. Over time, your brain begins to associate that scent with a focus state, making it easier to get into concentration mode quickly.
Avoid very strong or overpowering scents. The effect should be subtle and supportive, not distracting.
This is a small, inexpensive addition that adds a sensory layer to your study environment. It works alongside your visual and auditory environment to create a space your brain genuinely responds to.
22. Use a Minimalist Monitor or Laptop Stand
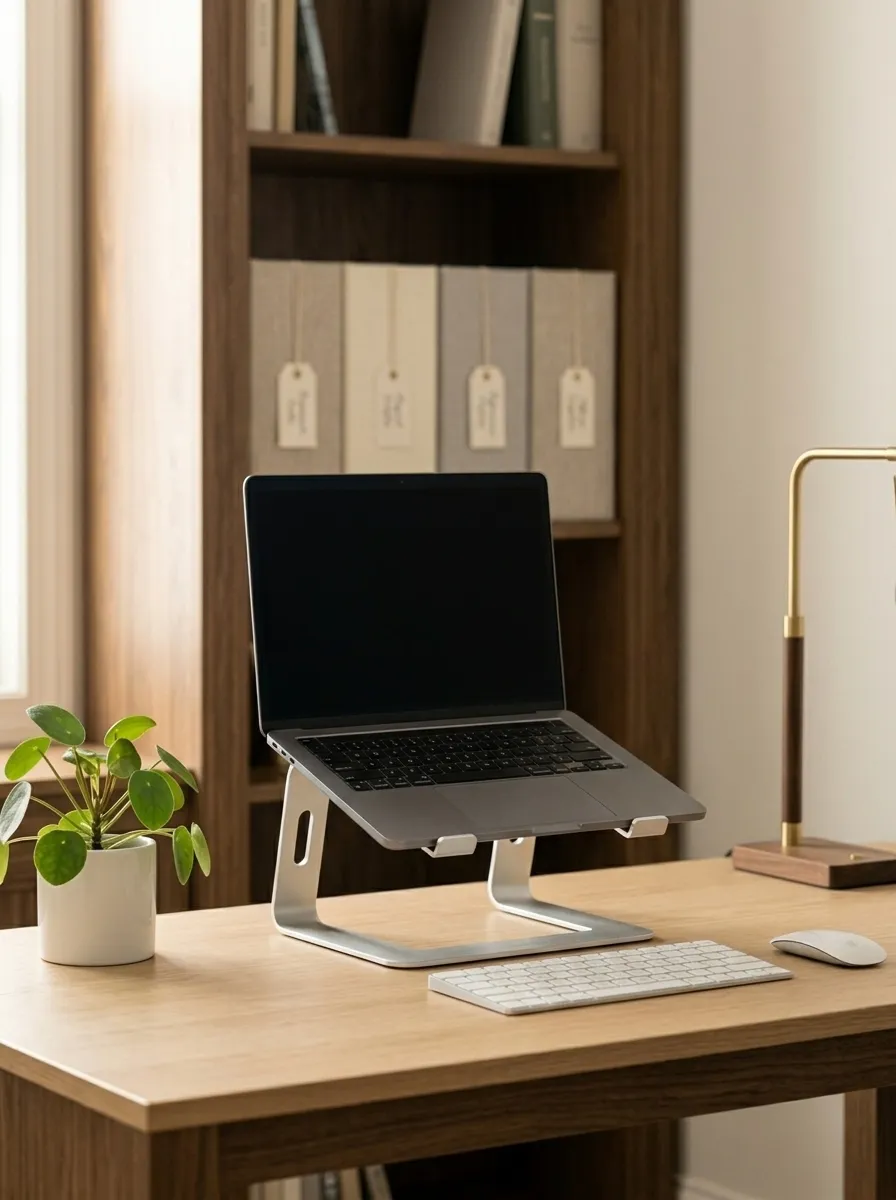
Looking down at a laptop screen for hours causes neck and shoulder strain that becomes a major focus disruptor.
A laptop or monitor stand raises your screen to eye level, which is the correct ergonomic position for extended work.
Your eyes should be level with the top third of your screen. If you are looking down significantly, your stand needs to be higher.
Aluminum and bamboo laptop stands are both affordable, stable, and look excellent on any desk setup.
Pair the stand with a separate wireless keyboard and mouse. When the laptop is elevated to eye level, you cannot comfortably use the built-in keyboard and trackpad.
This setup feels like a much larger investment than it actually is. A stand and a basic wireless keyboard and mouse can be purchased together for a reasonable budget.
The posture improvement is immediate. Most people notice relief in neck tension within the first study session after making this change.
A stand also raises the laptop off the desk surface, improving airflow and preventing the machine from overheating during long sessions.
Choose a stand in a finish that matches your desk setup. Silver, black, and natural wood grain all look clean and professional.
This is one of the most practical decor-adjacent upgrades you can make to a study space, combining visual improvement with genuine physical benefit.
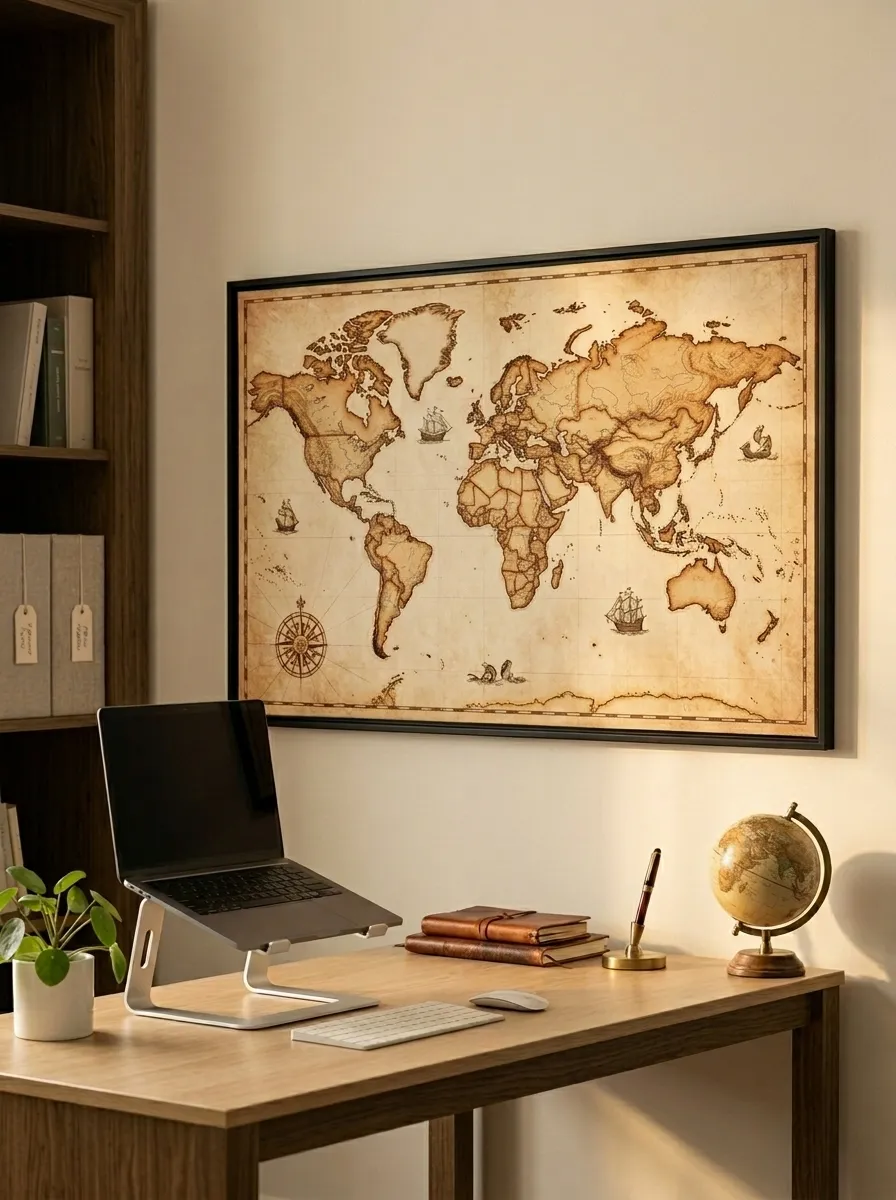
23. Hang a World Map or Subject Poster as Functional Decor
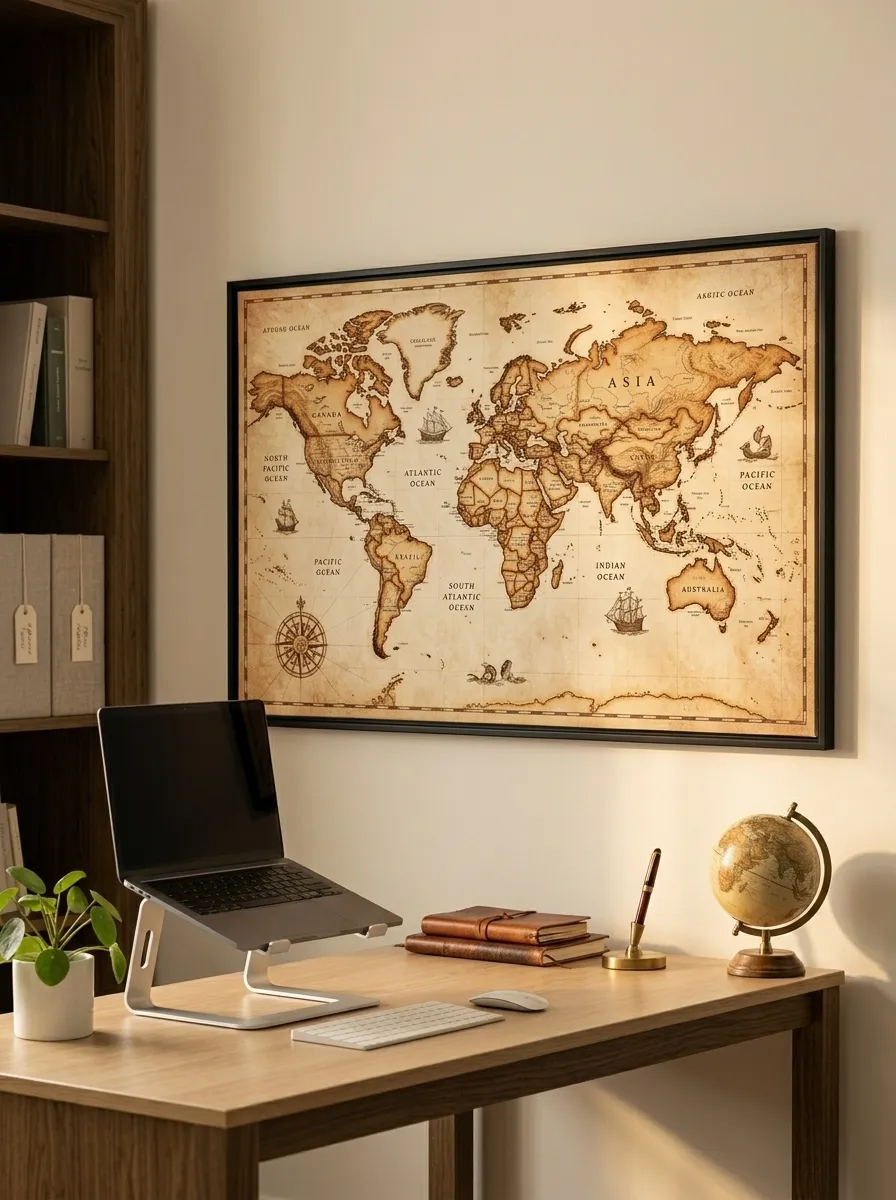
Wall art in a study room should do double duty.
Decorative art that also has educational value gives your eyes something interesting to rest on during breaks while keeping your mind in a learning mindset.
A large world map, anatomy poster, periodic table, or historical timeline hung above your desk serves as both decor and reference material.
Choose a subject poster that connects to what you study most. Science students benefit from anatomy or chemistry posters. History students from timelines or historical maps. Language learners from grammar reference charts.
Frame your poster for a clean, finished look. Even an inexpensive frame from a discount store makes a poster look intentional rather than temporary.
A world map is universally applicable and adds a sense of intellectual scale to any study room.
Place the poster or map where your eyes naturally fall when you look up from your desk. It should be in your general line of sight without being directly behind your screen.
Print your own poster at a copy shop for a very low cost if you have a specific design or graphic you want to display.
Use removable picture hanging strips to avoid wall damage in rental properties.
Functional wall art combines the aesthetic benefit of a decorated study room with a practical learning resource you actually engage with during your sessions.
24. Set Up a Dedicated Stationery Drawer System
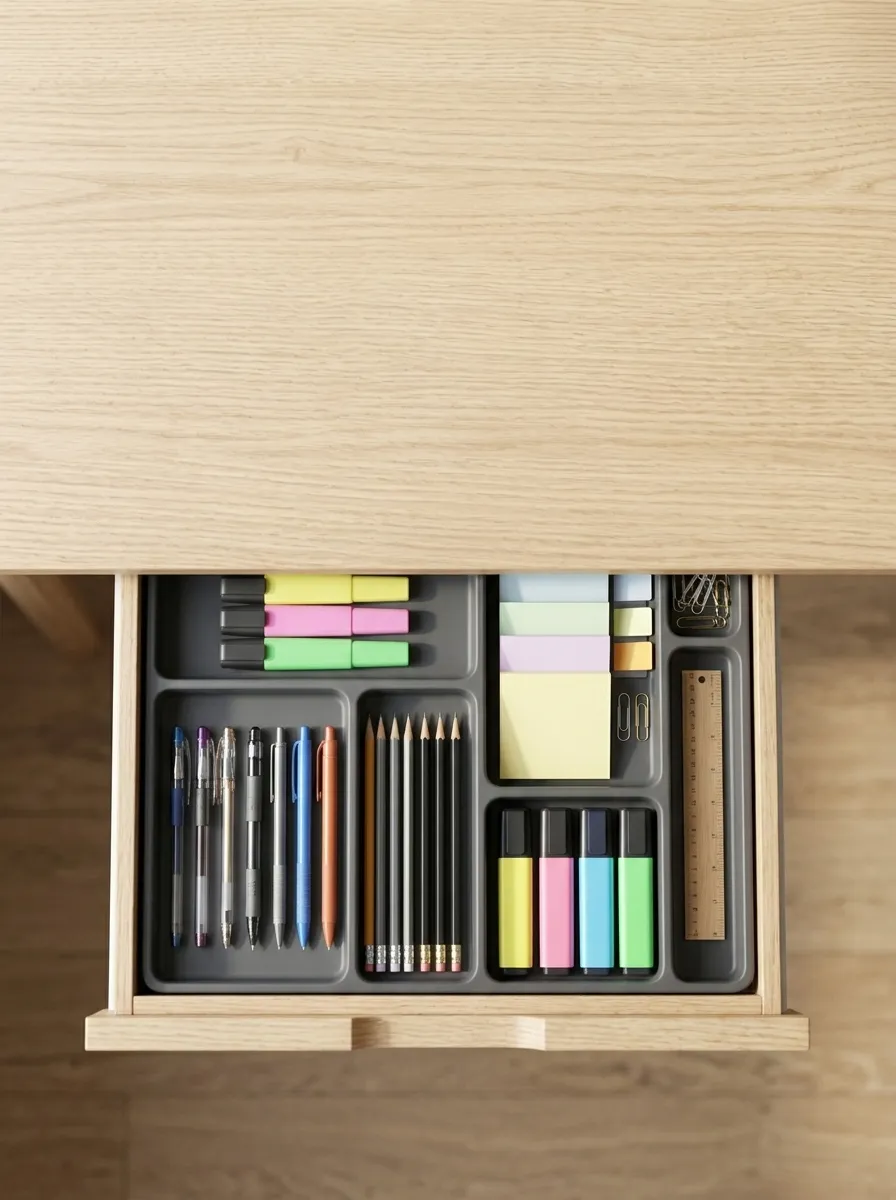
A disorganized stationery situation is a small but consistent source of frustration during study sessions.
Spending 90 seconds searching for a specific pen or highlighter every time you need it adds up to lost time and broken concentration.
A dedicated stationery drawer with an organizational insert puts everything in a specific, consistent place.
Use a drawer organizer tray with multiple sections sized for different item types. Pens and pencils in one section, highlighters in another, sticky notes, paper clips, eraser, and ruler each in their own space.
Keep only the stationery you actually use in the drawer. Remove duplicates, dead pens, and items that belong elsewhere.
The rule is simple: after using any item, it goes back to its specific section immediately.
This habit means your drawer looks the same every time you open it. No searching, no frustration.
Drawer organizer trays are available in wood, bamboo, plastic, and acrylic. Bamboo and wood trays look especially clean and feel pleasant to use.
If your desk does not have a drawer, use a desktop stationery organizer with multiple compartments instead.
A well-organized stationery system is invisible when it is working correctly. You simply reach for what you need and it is there.
That frictionless experience adds up to more time spent studying and less time managing the logistics of studying.
25. Use Warm Textures to Make the Space Feel Inviting
A study room that feels cold and clinical is harder to spend time in voluntarily.
Texture is one of the most effective ways to make a functional space feel warm, personal, and inviting.
Add a jute or wool rug under your desk and chair. This defines the workspace, adds warmth underfoot, and significantly changes the acoustics of the room.
Use a linen or cotton cushion on your study chair seat. This adds physical comfort and visual softness.
A small knitted throw on your reading chair invites you to settle in for longer sessions.
Natural materials like wood, rattan, jute, and linen work together cohesively and add warmth without visual clutter.
Replace any harsh plastic or metal elements where possible with wooden or fabric alternatives. A wooden pen holder instead of a plastic one. A fabric storage box instead of a cardboard one.
Texture does not just affect how a room looks. It affects how it sounds and how it feels to be in it. Soft materials absorb sound and create a quieter environment.
Layer textures gradually. A rug first, then a cushion, then a throw. You do not need to add everything at once.
A study room with warm textures feels like a place you chose to be in, not a place you were assigned to sit in. That distinction matters more than it might seem when it comes to building consistent study habits.
Your study space is not just a room with a desk. It is the physical environment that either supports or undermines your ability to focus, learn, and follow through on your academic goals. The ideas in this guide cover lighting, organization, comfort, motivation, and sensory design because all of these factors matter. You do not need to implement all 25 ideas at once. Pick the two or three that address your biggest current friction points, whether that is poor lighting, desktop clutter, noise, or discomfort, and start there. Small, well-chosen changes compound over time into a study environment that genuinely works for you. The best study room is not the most expensive one or the most Instagram-worthy one. It is the one where you can sit down, get focused quickly, and stay there long enough to do meaningful work. Start building that space today.